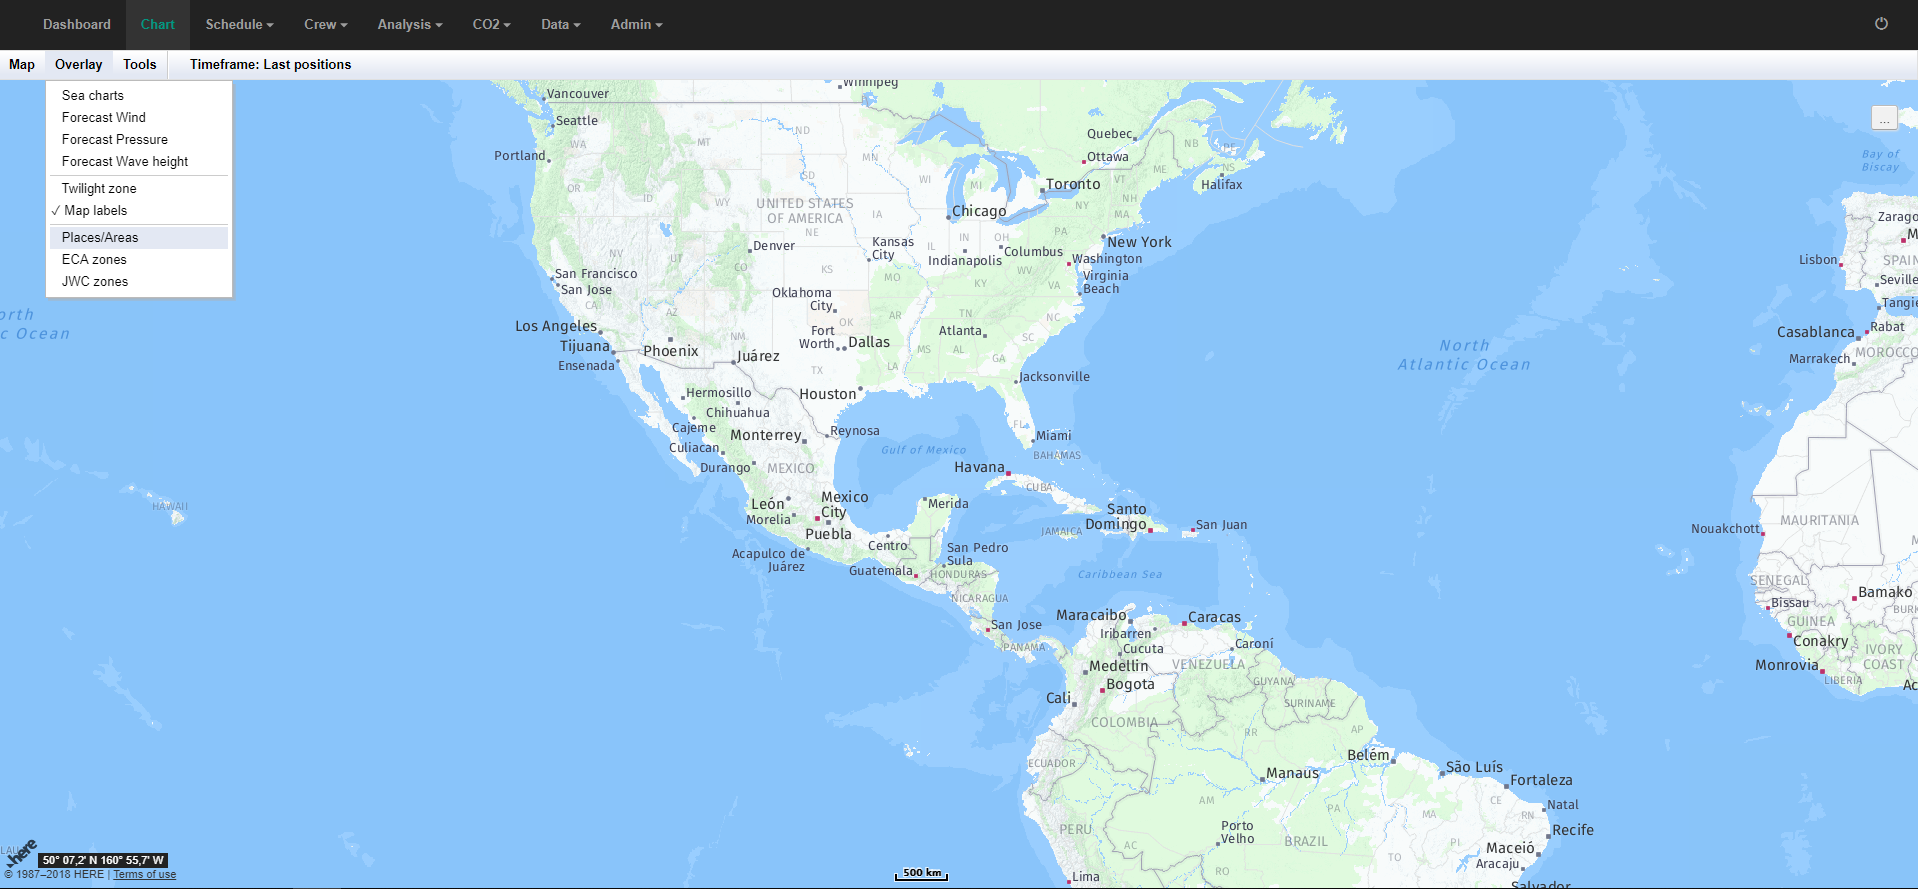
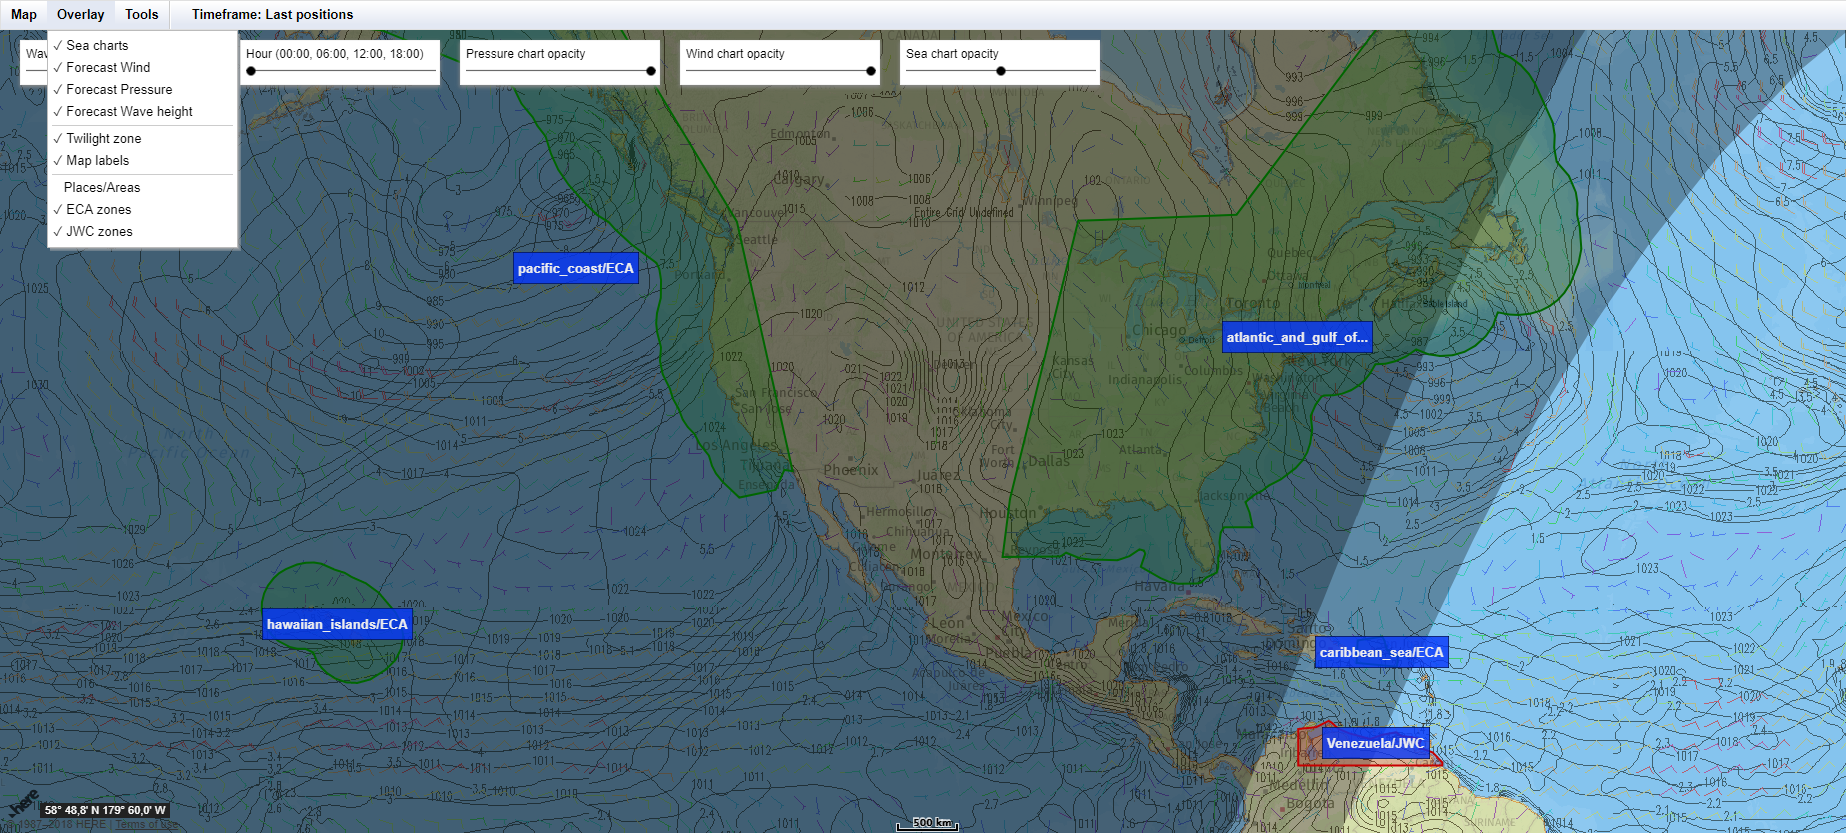
On the tab Overlay, you can find different overlay options for the chart. Please note, that you can combine these overlays as you see fit. Especially with the option opacity, you can decide which function for you is more important and should be shown more prominently.
You may find below all the settings of the chart:
- Sea charts
- Forecast Wind
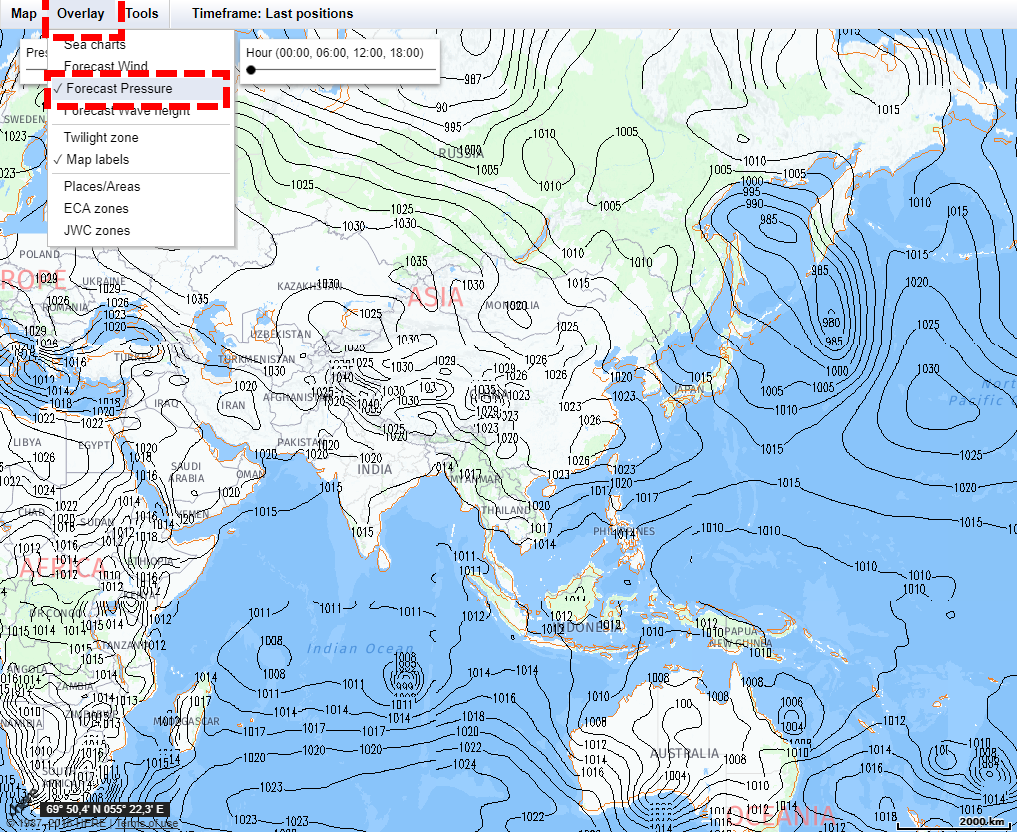
- Forecast Pressure
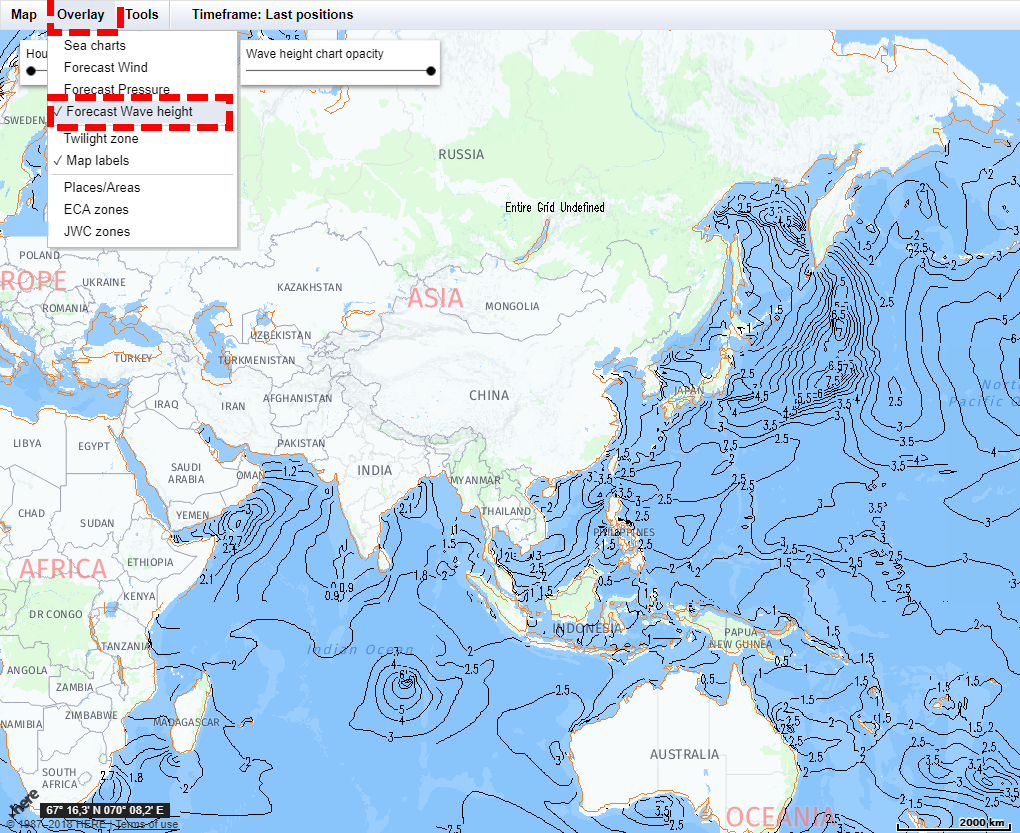
- Forecast Wave Height
- Twilight Zone
- Map Labels
- Places
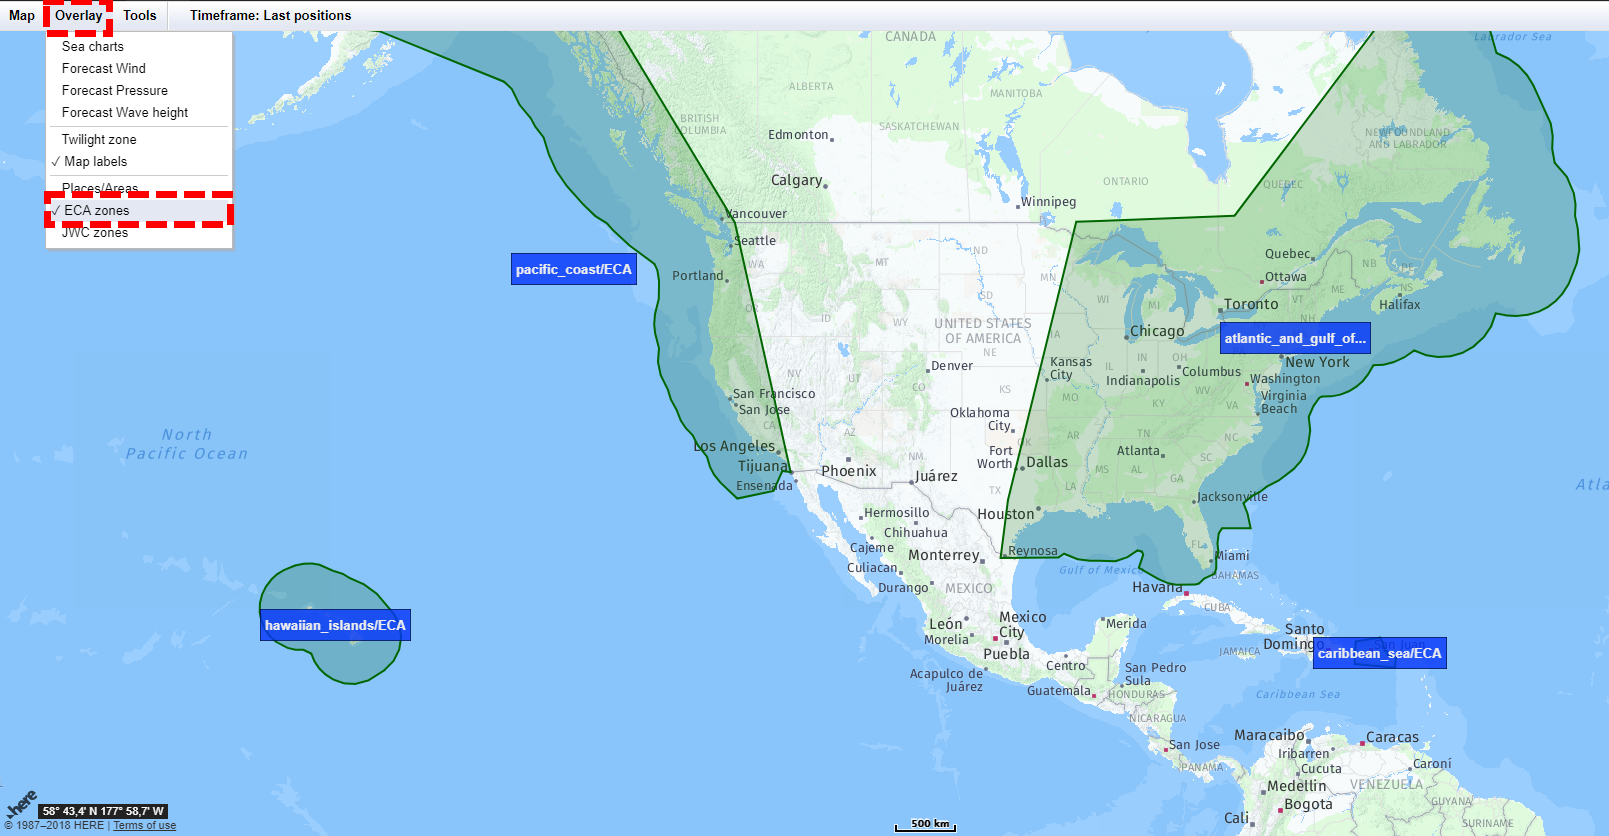
- ECA zones
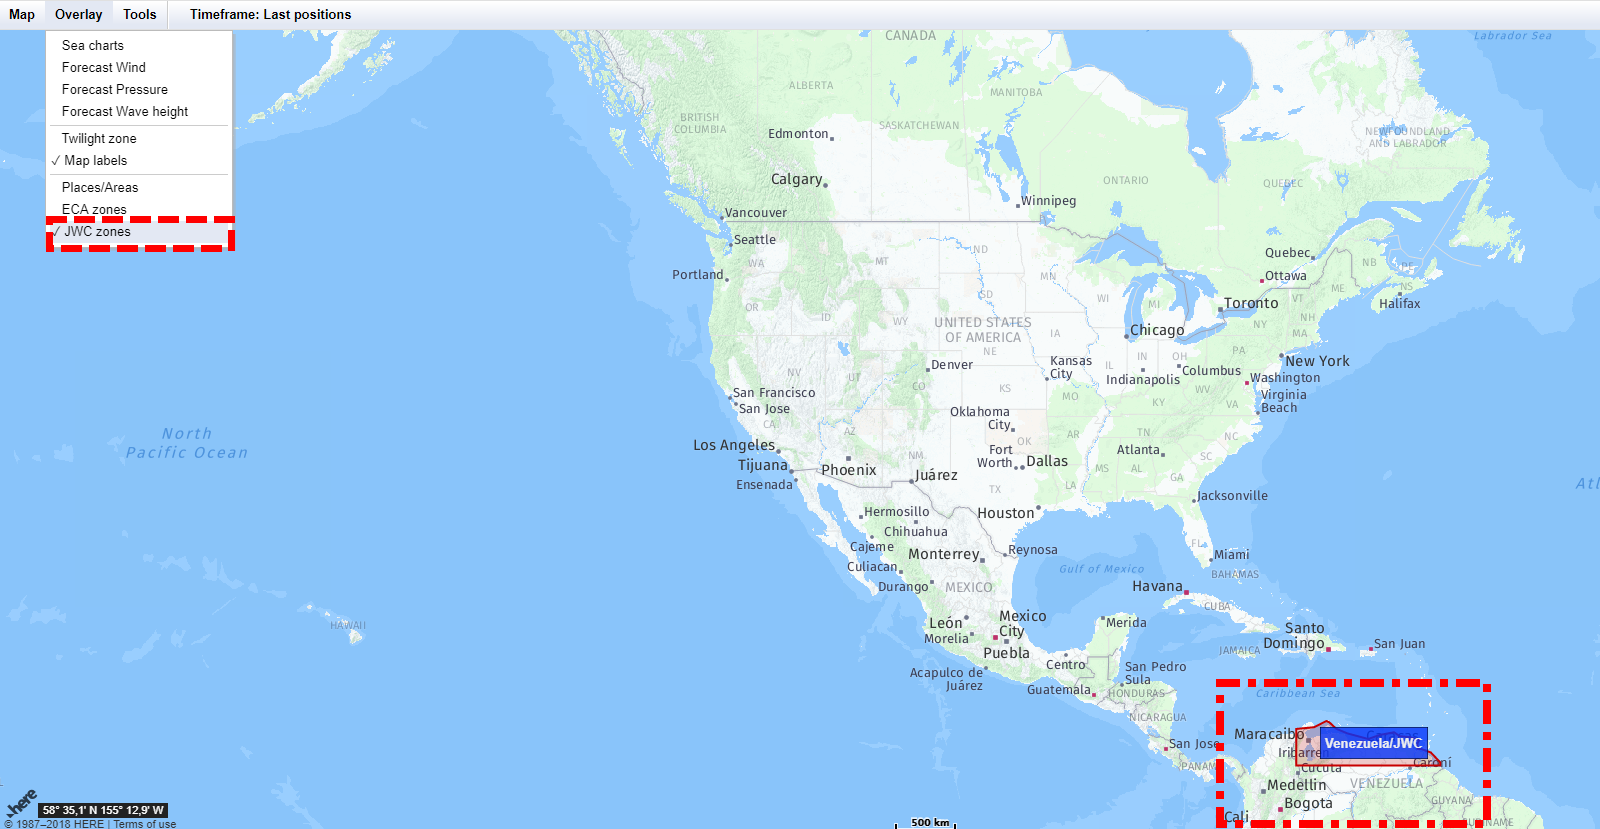
- JWC zones
- All Overlays
Below are the default settings of the chart.
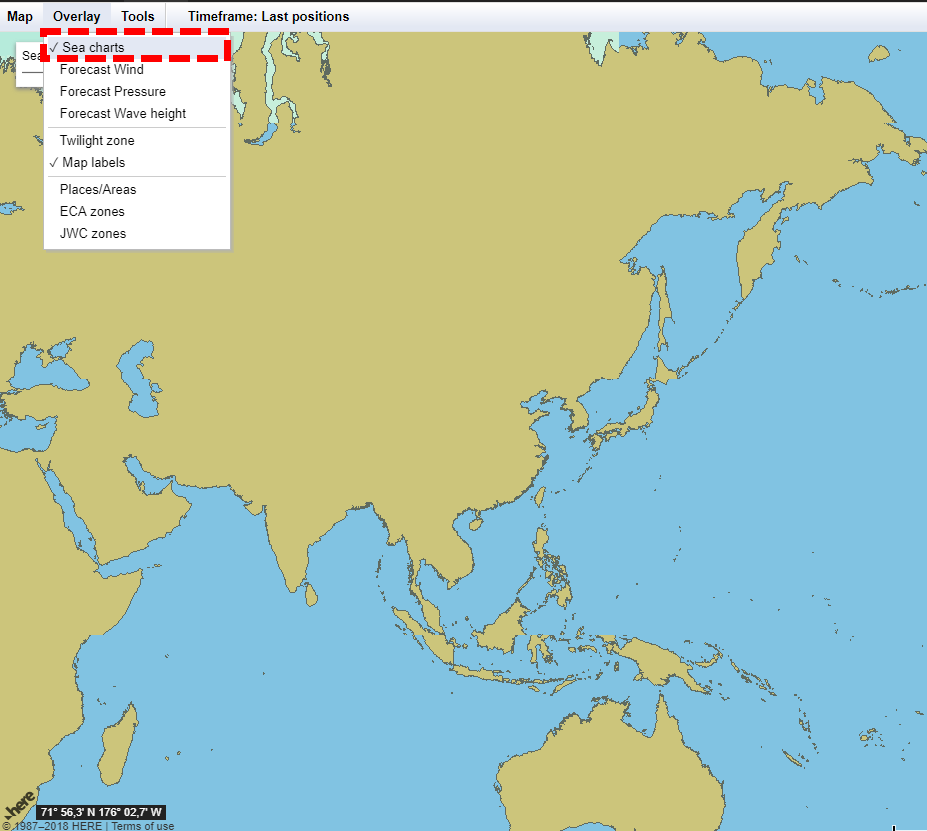
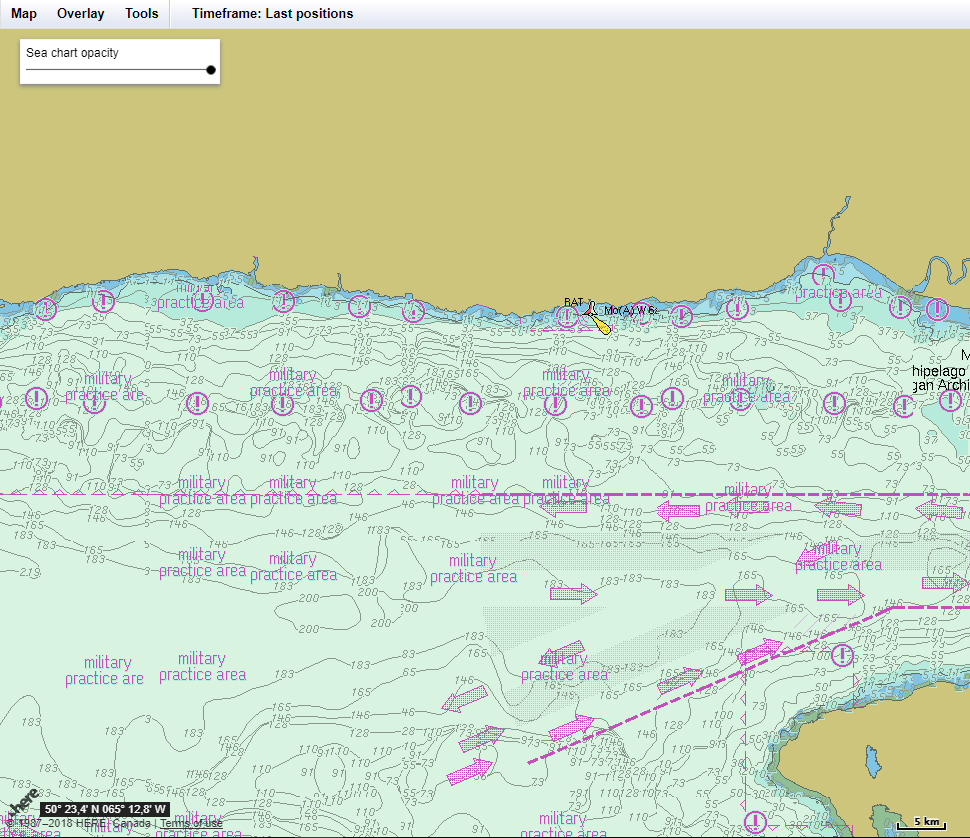
Sea Charts
1. When you first activate the sea chart, the map changes to the view shown above.
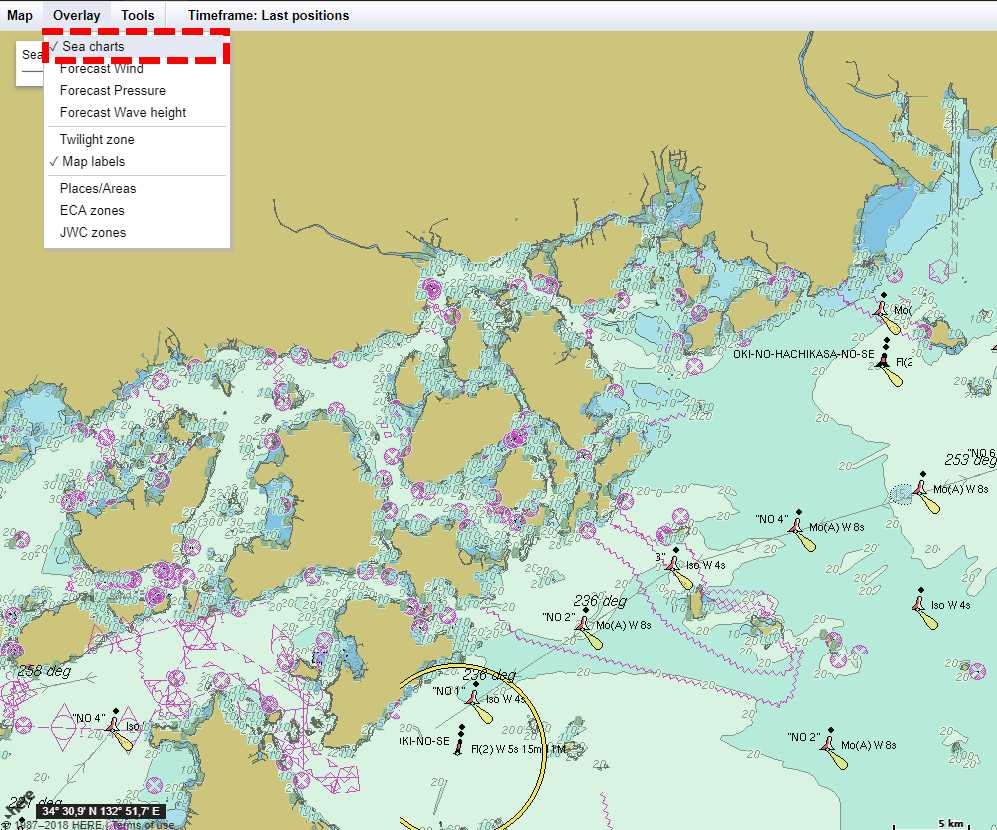
2. If you zoom into the chart more information starts to appear.
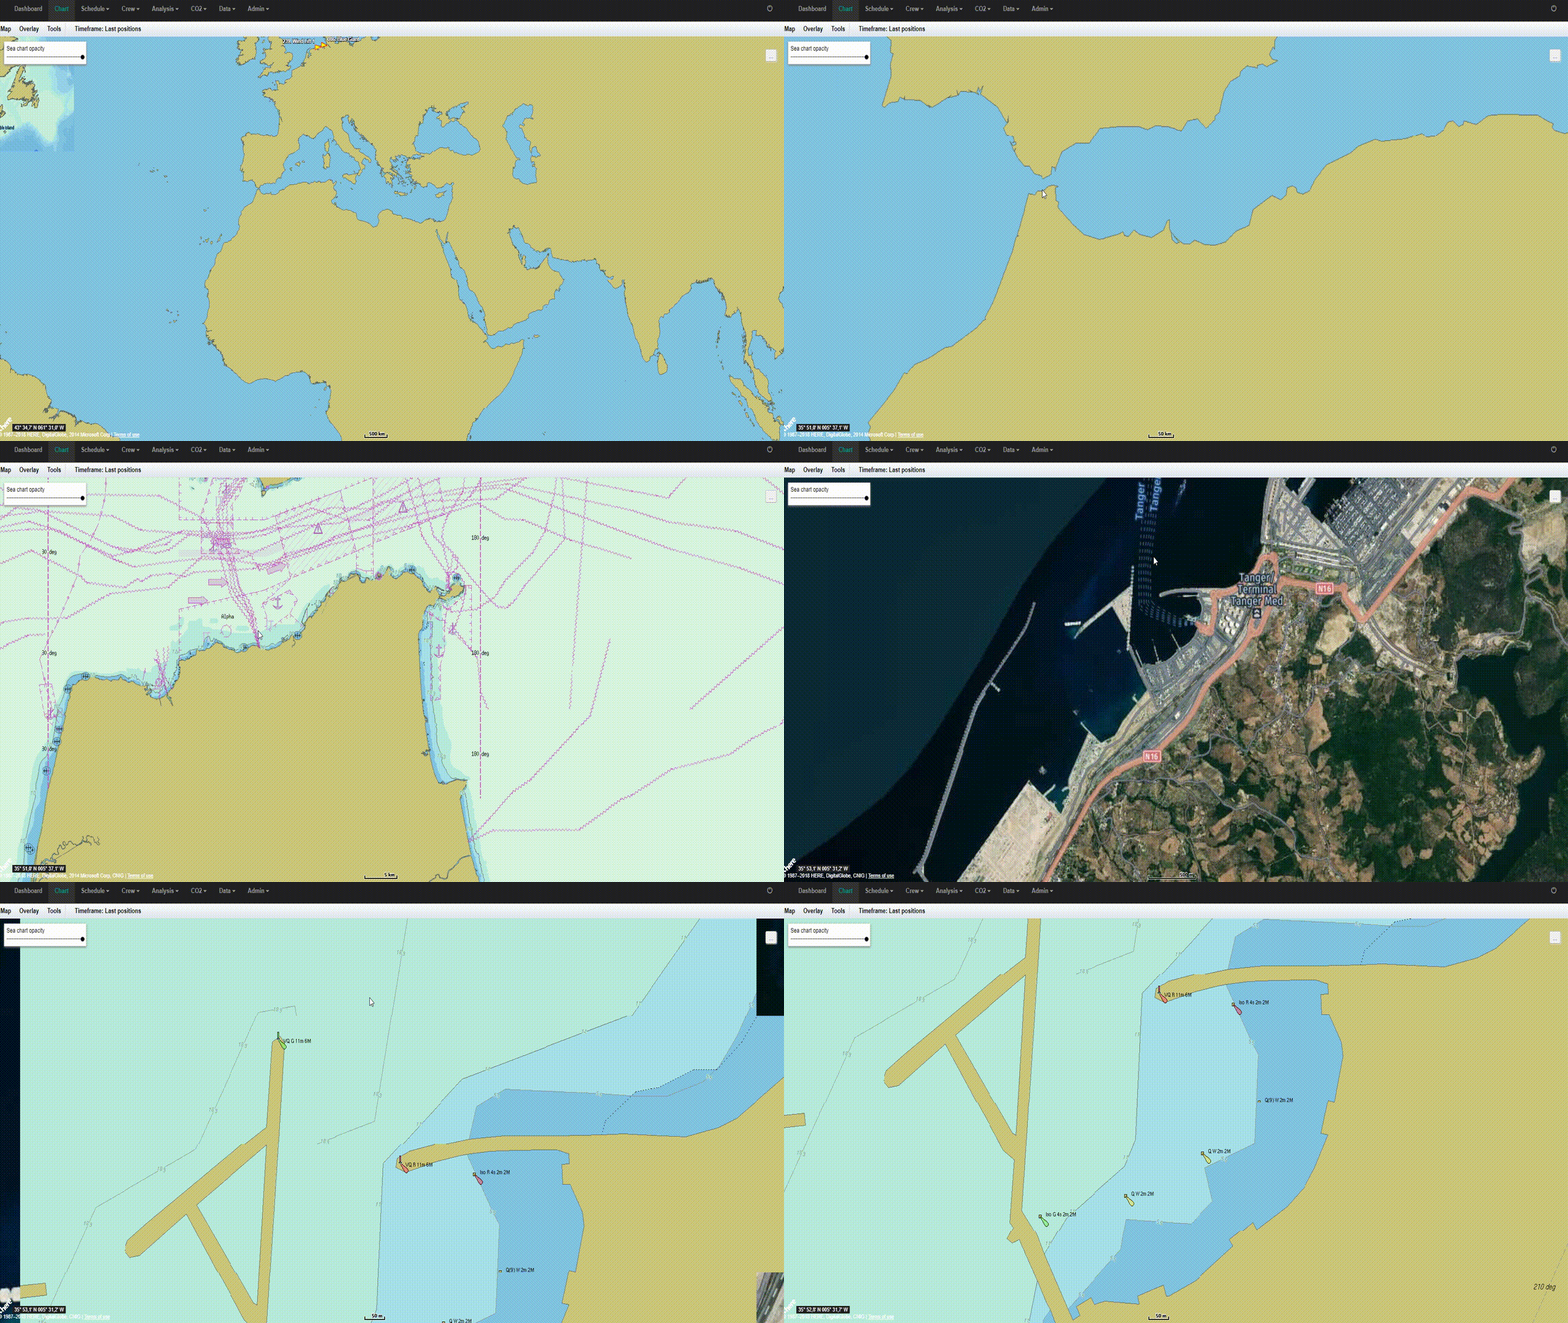
Below video shows how the sea chart changes when zooming in.
3. If you zoom in more information will appear.
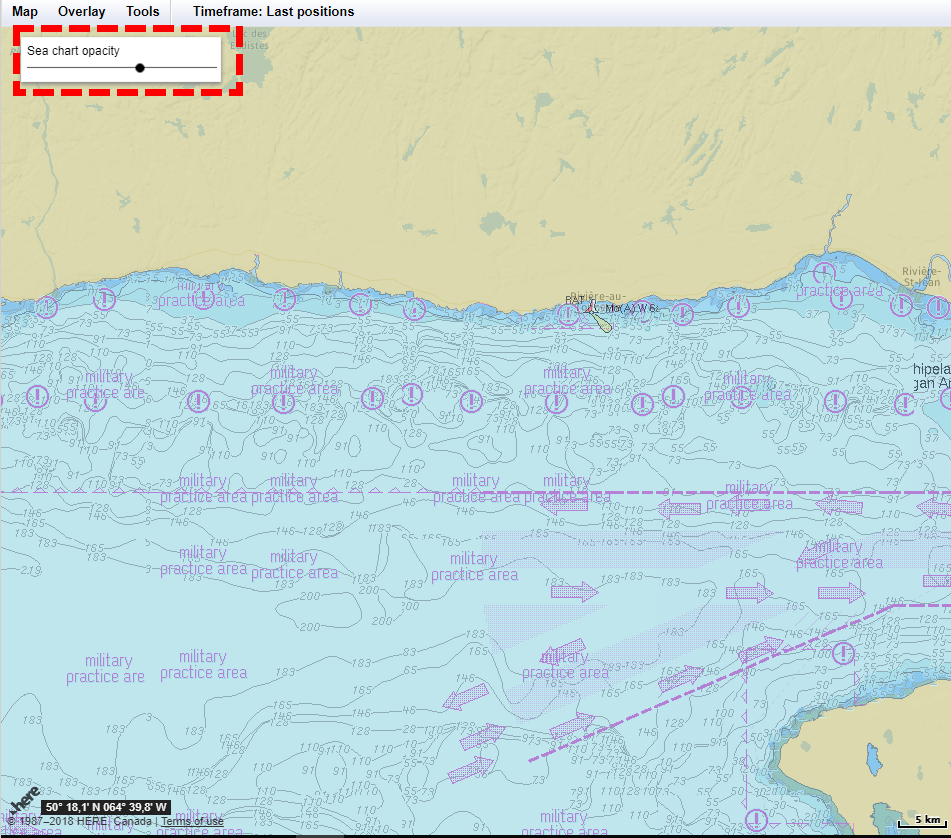
4. On the overlay you can change the opacity. This changes, the covering power over the overlay. Of course, you can change the opacity of every layer, not just of the layer sea chart. So, if you use more than one overlay at the same time, you can change the opacity of every overlay, so you can have the view you need.
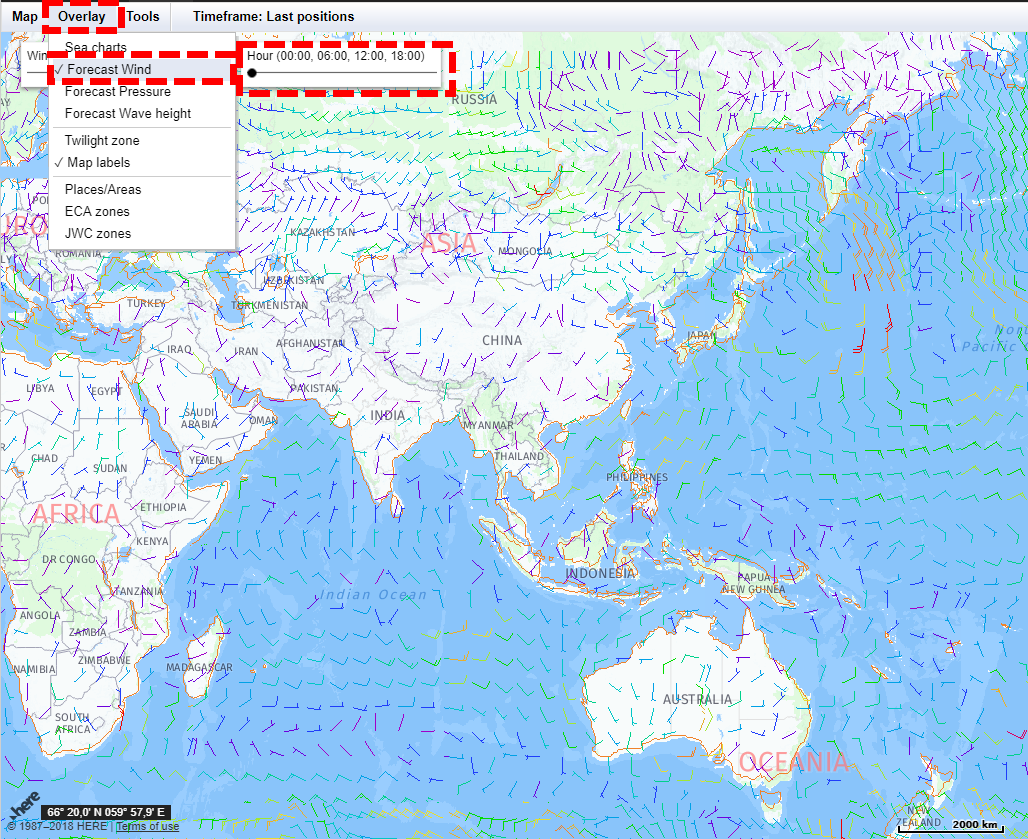
Forecast Wind
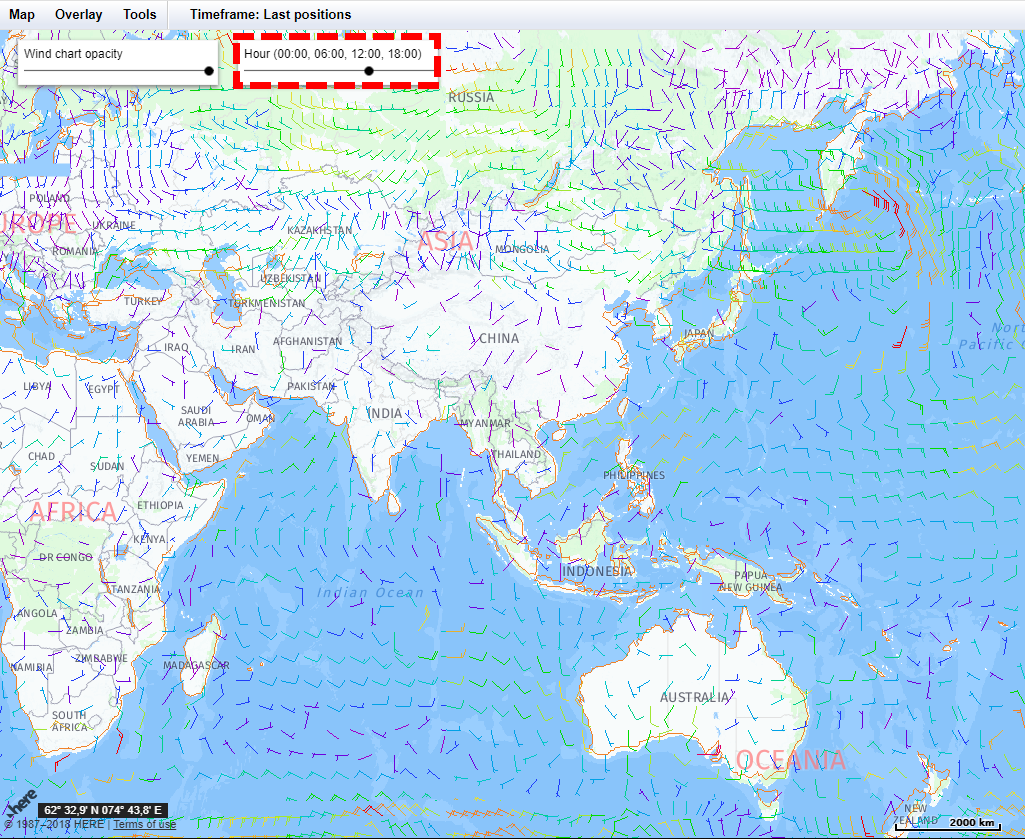
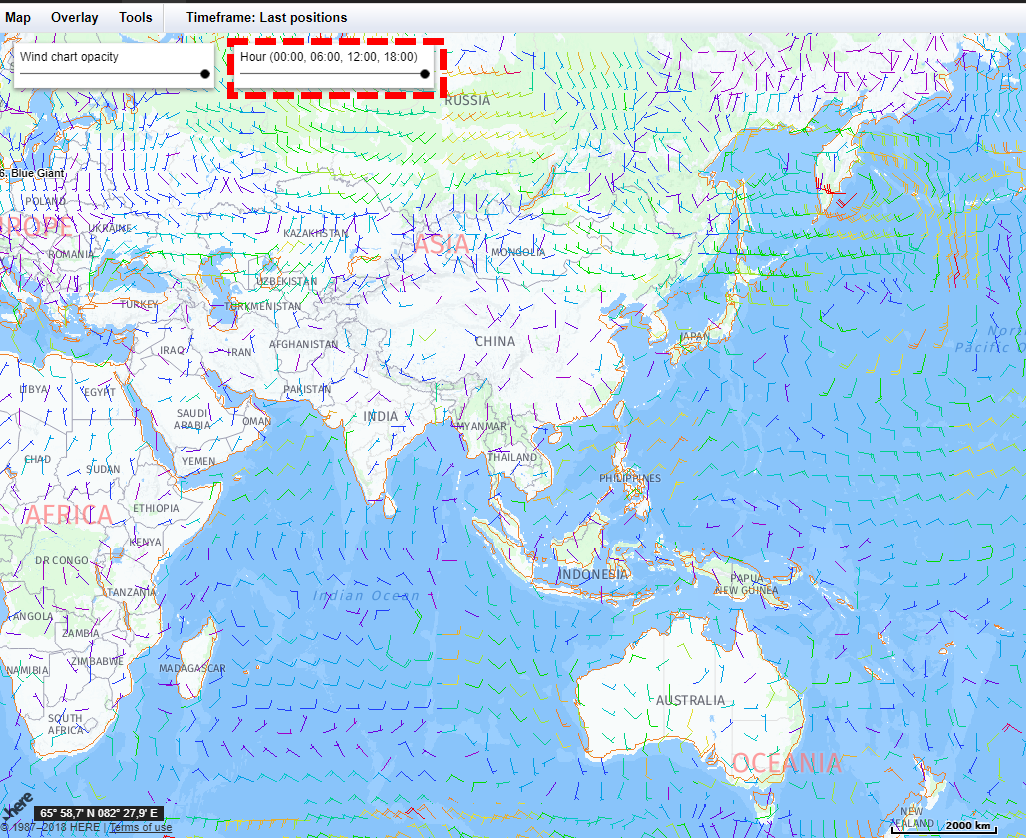
Forecast Wind is an overlay which shows a forecast of wind on the map.
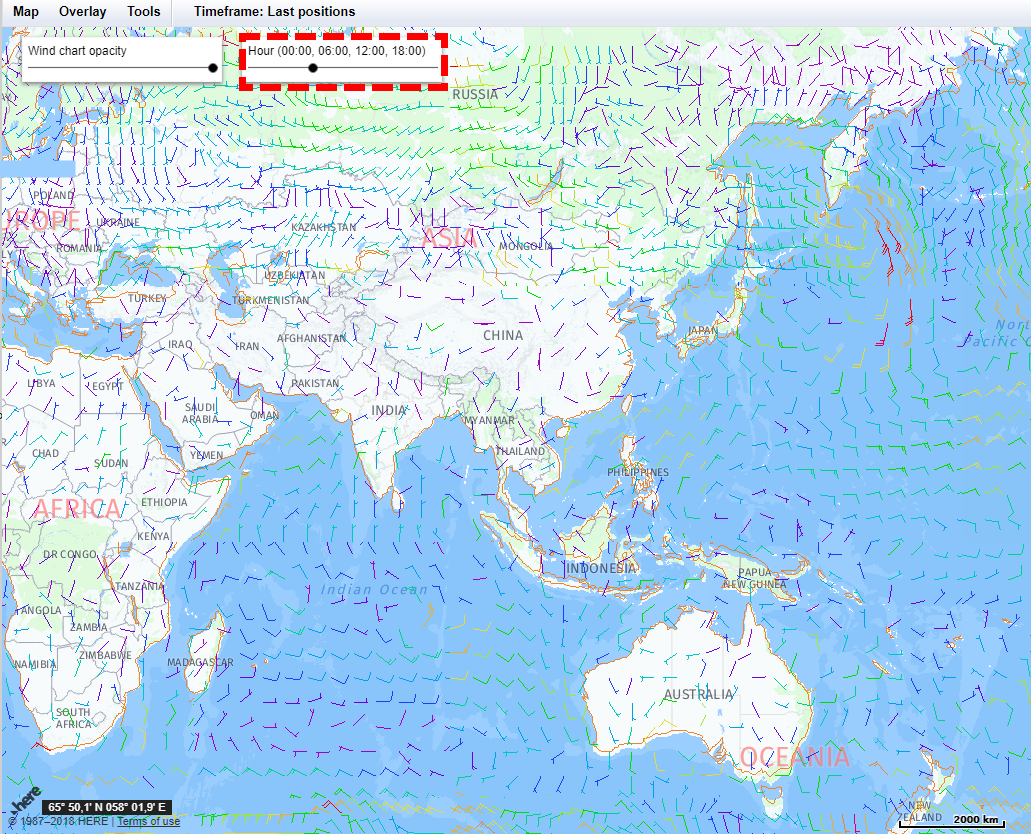
1. When the overlay is activated you can also change the setting hours as well. By default, the hour is set at 00:00. You can use the modulator to change the time of the forecast.
2. Like this, the hour setting is at 06:00.
3. Like this, the hour setting is at 12:00.
4. Like this, the hour setting is at 18:00. Similarly, you can change the hour settings for the Forecast Pressure and Forecast Wave Height
Forecast Pressure
Similarly to Forecast Wind, you can change the opacity of the Overlay and also the time setting.
1. Like this, the hour setting is at 00:00.
2. Like this, the hour setting is at 12:00.
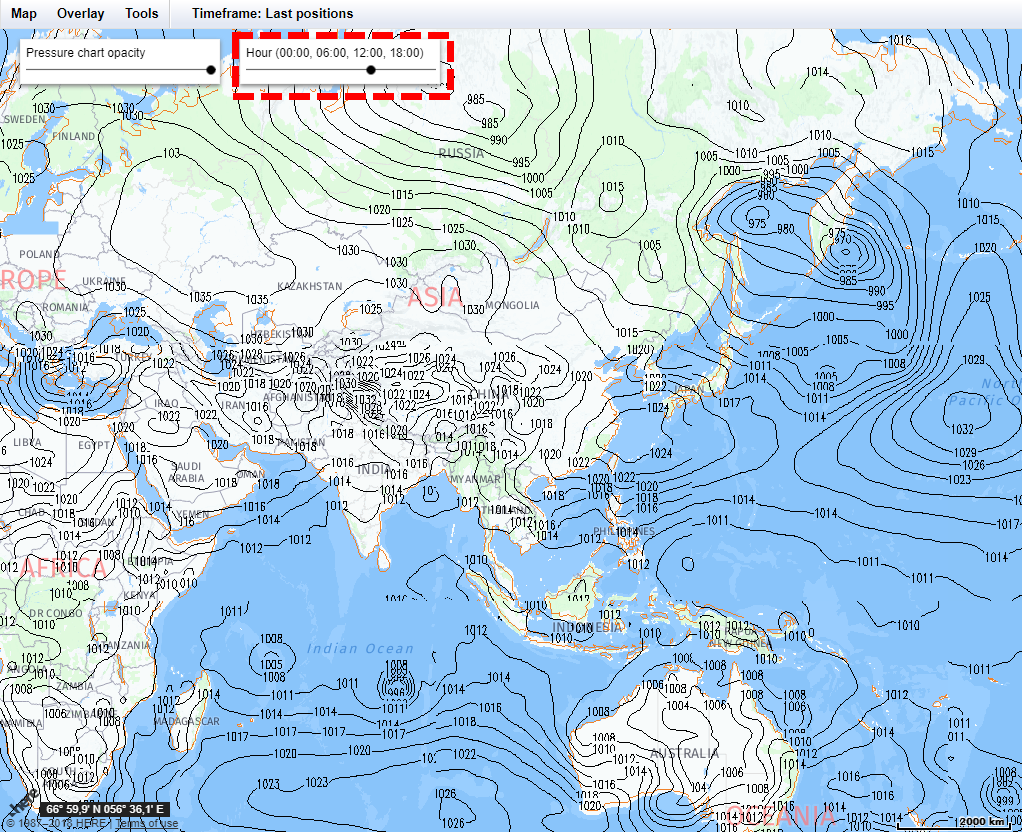
Forecast Wave Height
Similarly to Forecast Wind and Forecast Pressure, you can change the opacity of the Overlay and also the time setting.
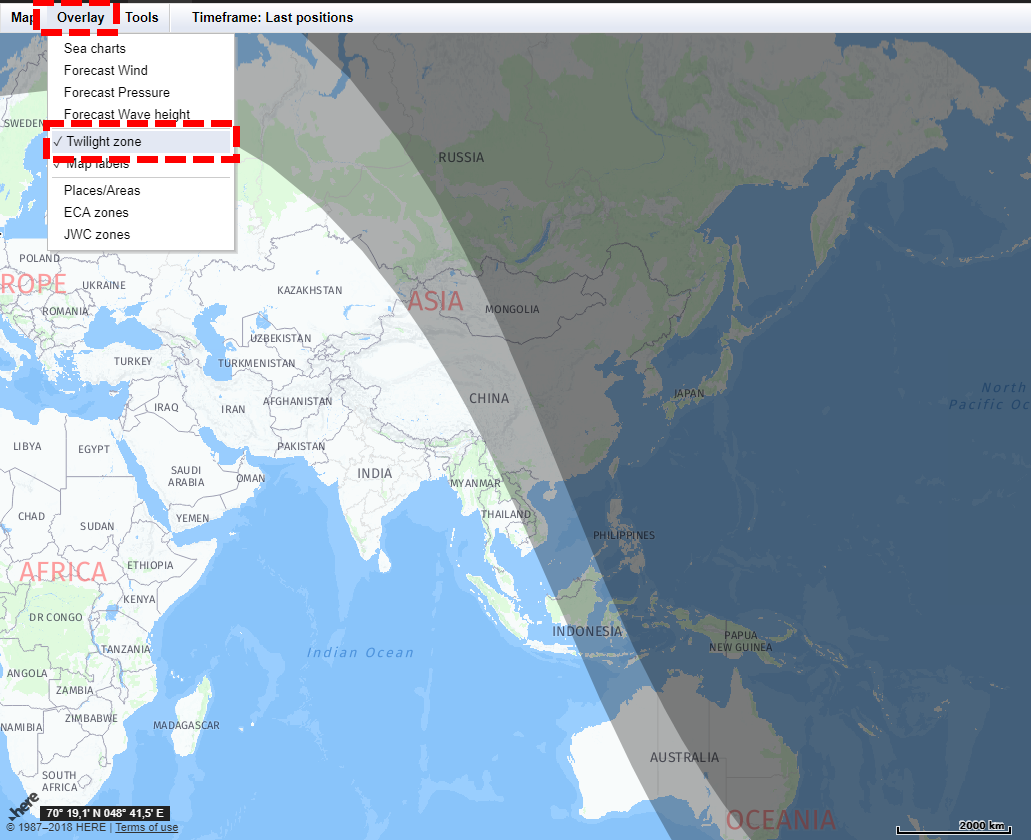
Twilight Zone
This Overlay shows the day and night zones on the map.
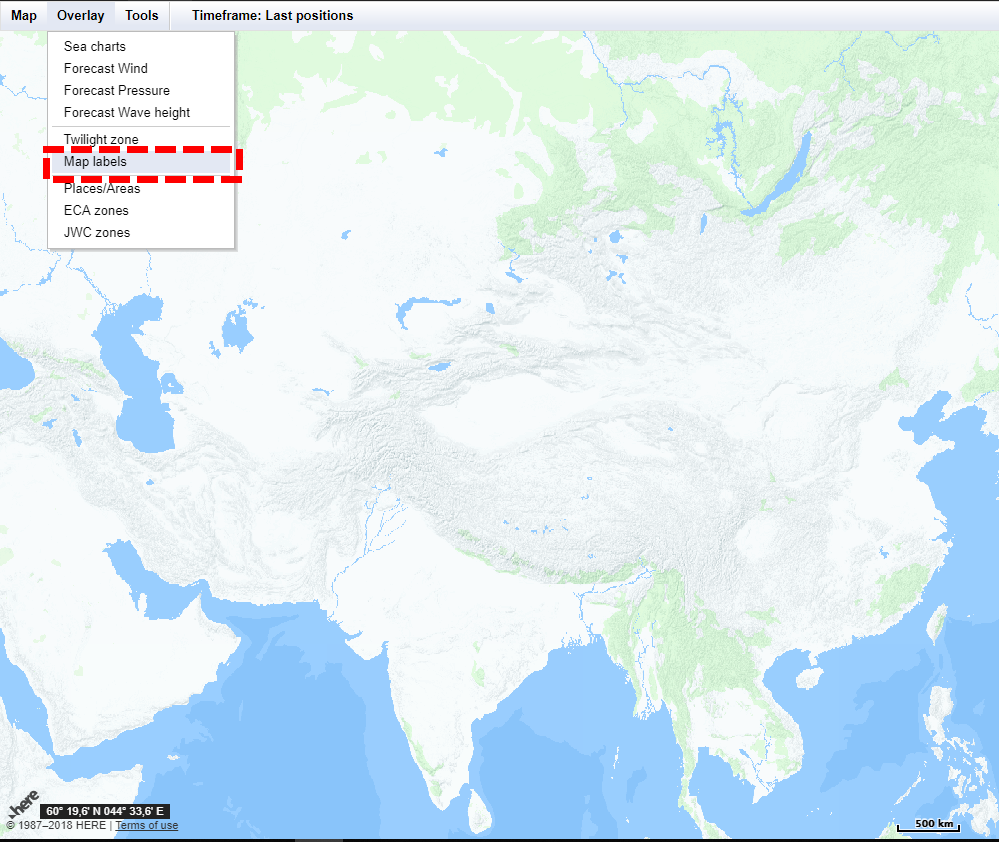
Map Labels
By default, the map labels are activated. If you deactivate this overlay, the map will not contain any names of e.g. countries, cities etc. anymore.
Places
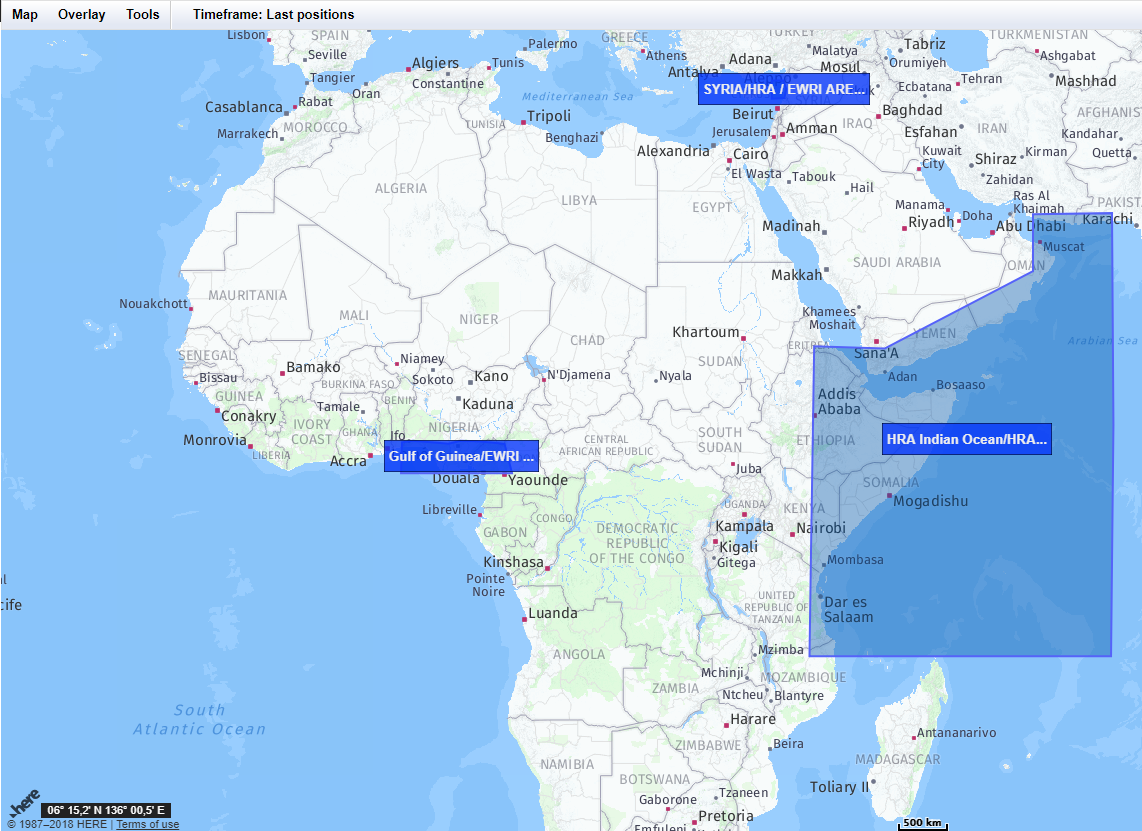
You can define so-called places on the map and show them with this functionality. Places are marked on the map as certain areas in blue.
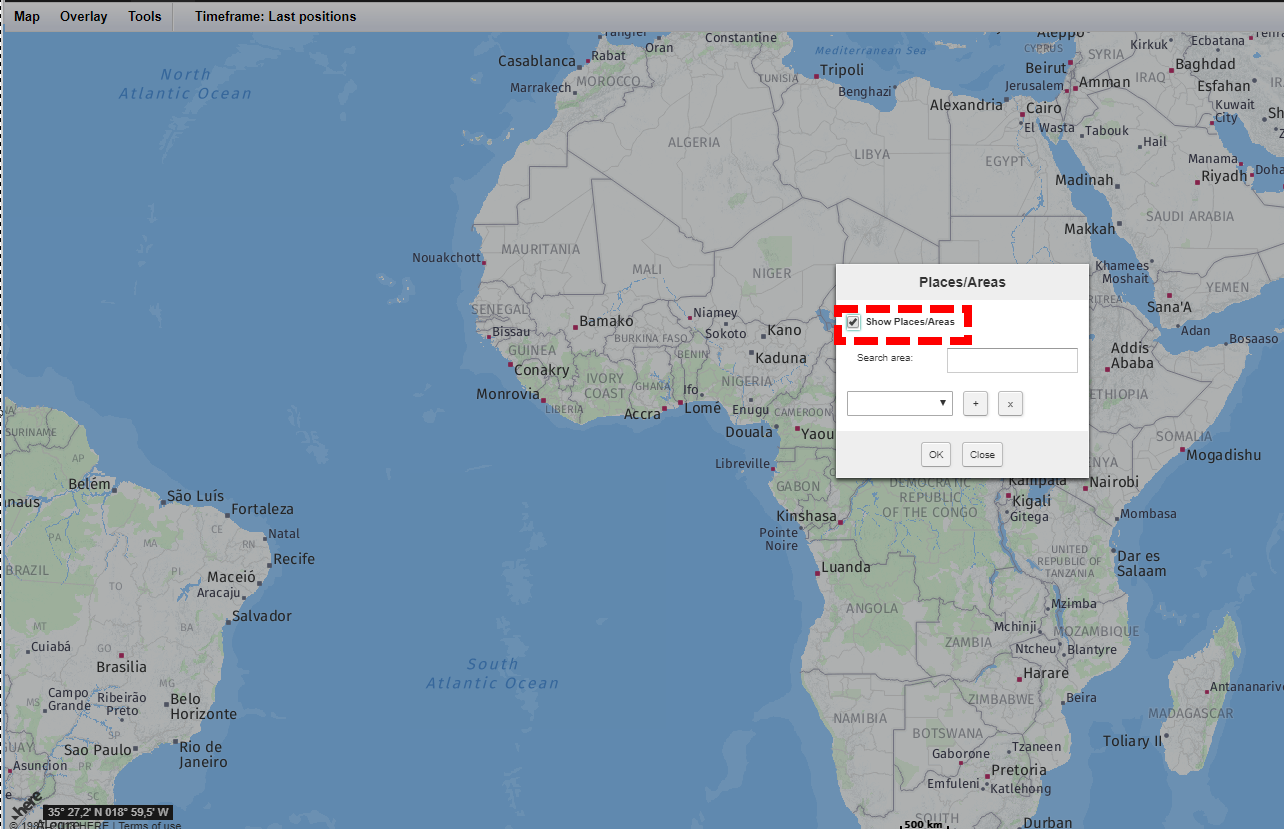
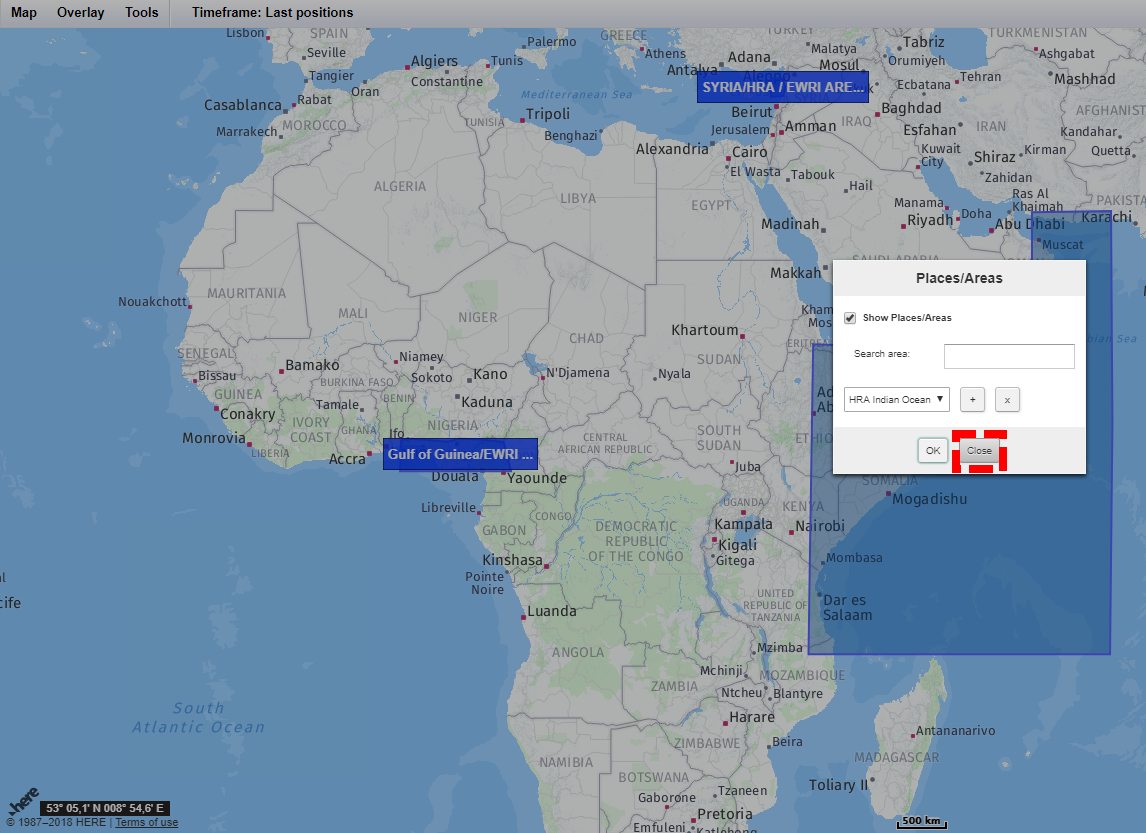
1. To activate the overlay Places click on the button.
2. You need to check Show Places/ Areas in the grey box in the new box.
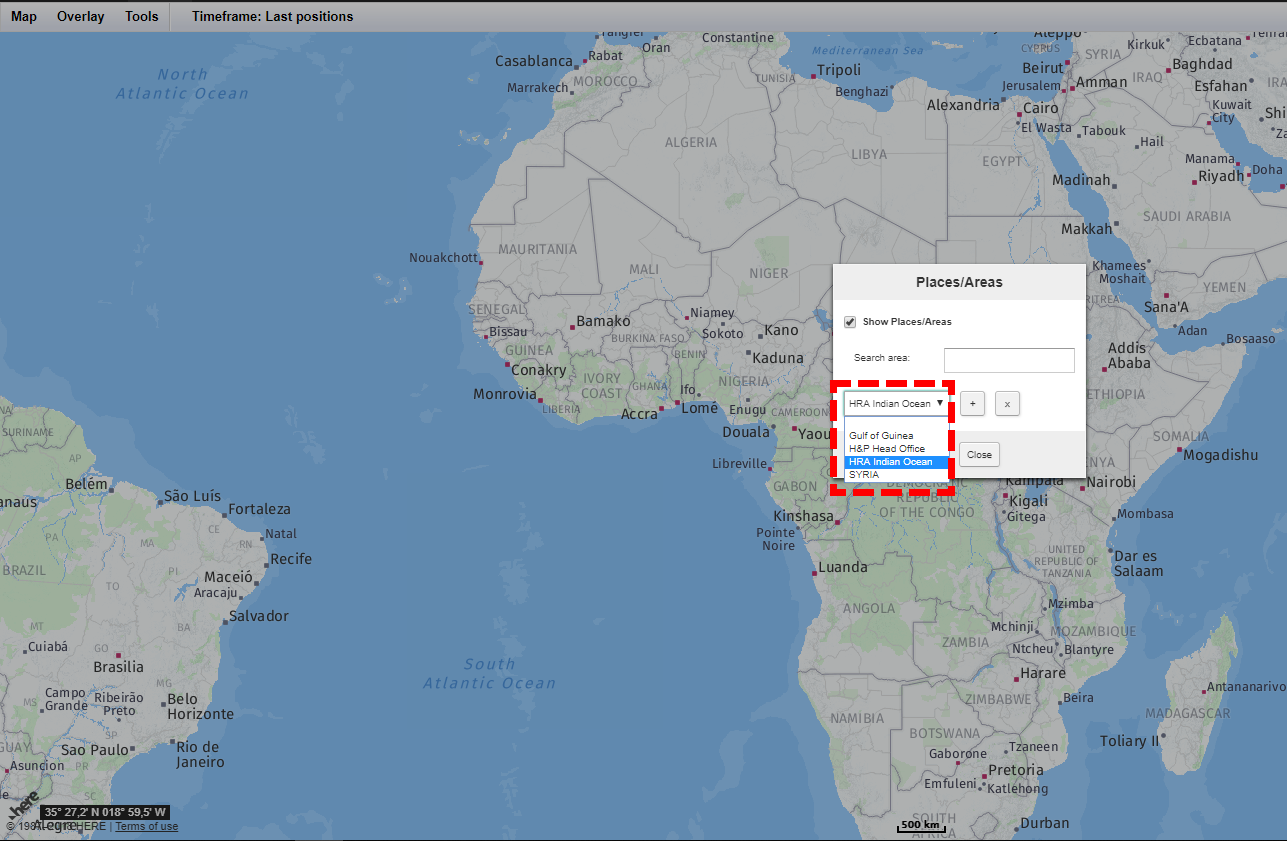
3. From the drop-down menu, you can choose an area which you want to see. Confirm this action by pressing the okay button.
4. Thus, you will be shown the chosen area on the map.
5. Finally, click on the close button, to just see the map. The Places/Area box will now not be shown. If you want to see another area, repeat the process.
If you want to know how to edit Areas/Places and add Areas/Places please check the site Places.
ECA Zones
The Overlay ECA Zones shows all Emission Controlled Areas (ECA) on the map. By activating this overlay the ECA areas are marked in green on the map.
JWC Zones
The overlay JWC Zones shows all areas with official security risks i.e. hull war, piracy, terrorism, and related perils. By activating this overlay the piracy zones are marked in red.
All Overlays
Like mentioned above, you can activate as many overlays at the same time, as you need. For every overlay, you can change the opacity and the time. With these functions, you can change the default view and can make certain overlays more prominently, than others. Please note, that you cannot change the hour setting for overlays separately, you can only choose between 00:00, 06:00, 12:00 and 18:00 for all overlays at the same time. In case some overlays are not shown properly, you need to change the opacity so that you will see the chart as needed.
An example with all overlays activated at the same time.
