If you generally want to know how the Overlay Areas/Places works, check the site Overlay otherwise you can read on this page, how to add places or how to edit them.
Adding new Areas/Places
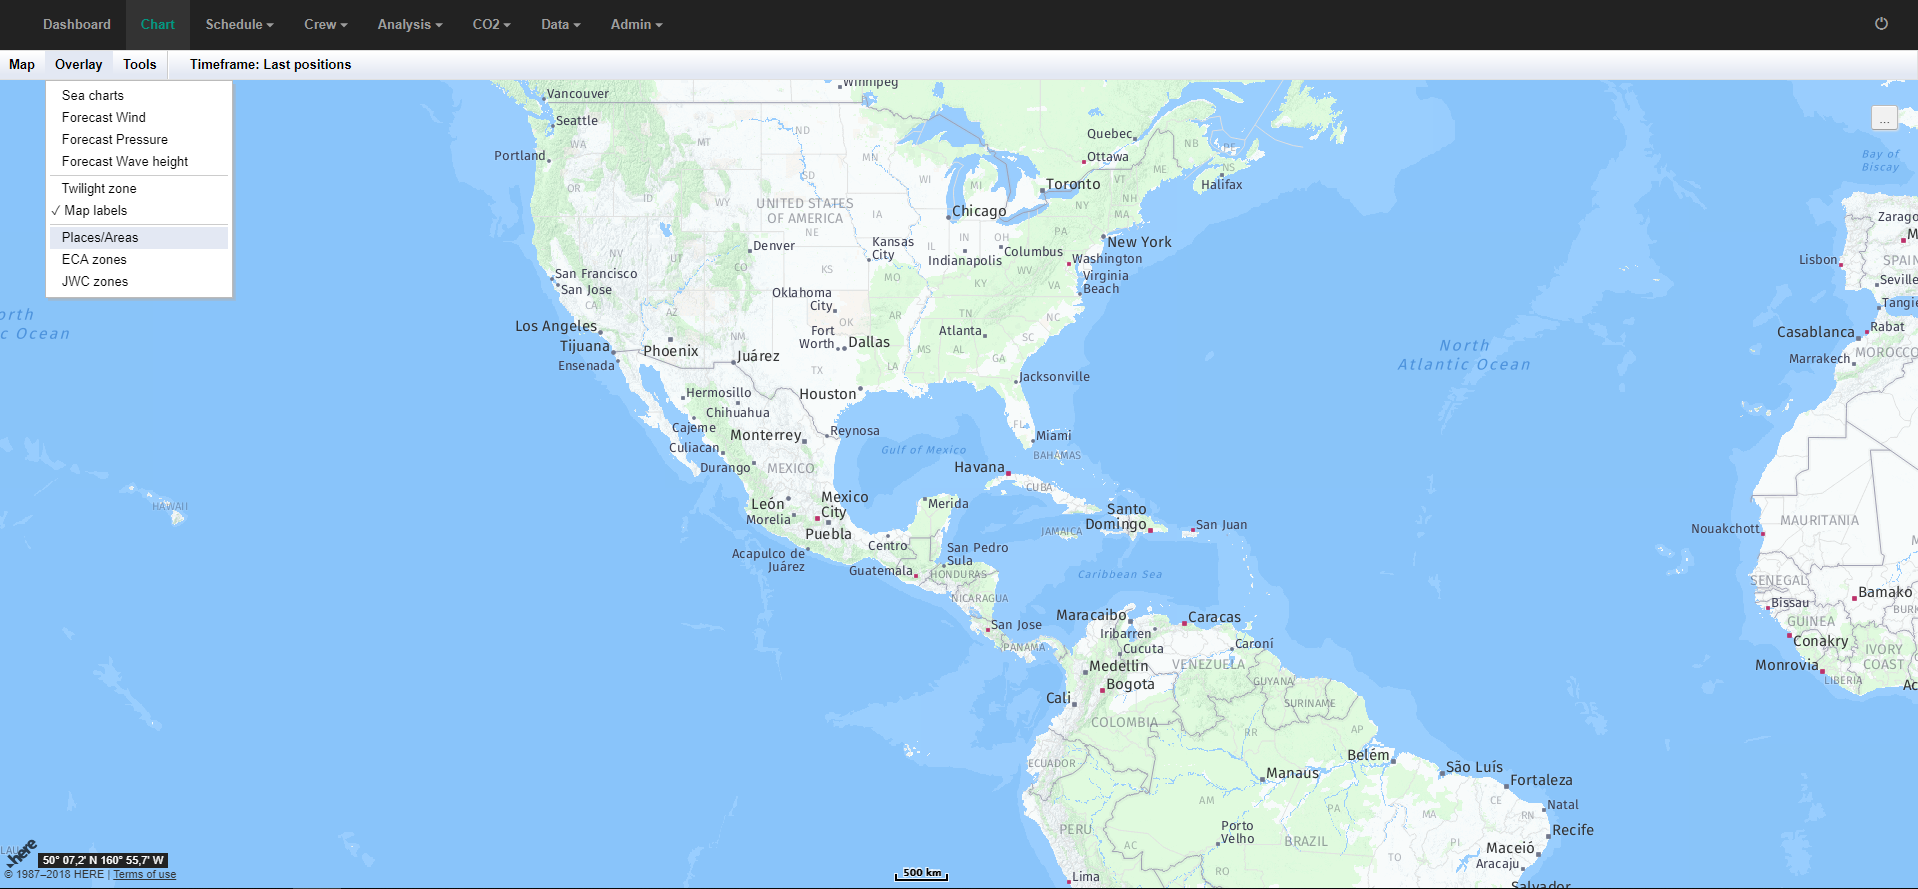
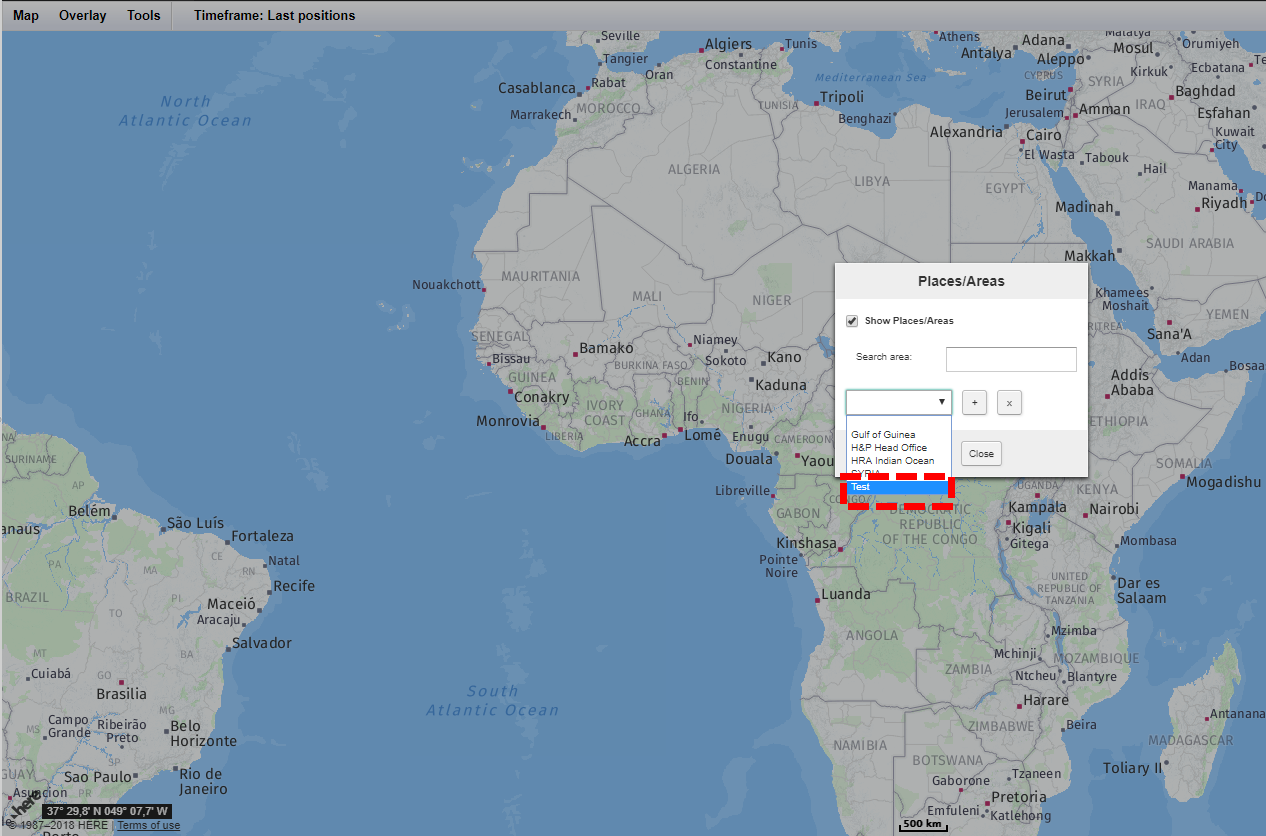
1. You need to scroll on the map to the are, where you want to set a new Area/Place. Secondly, we open the Overlay menu and choose Areas/places.
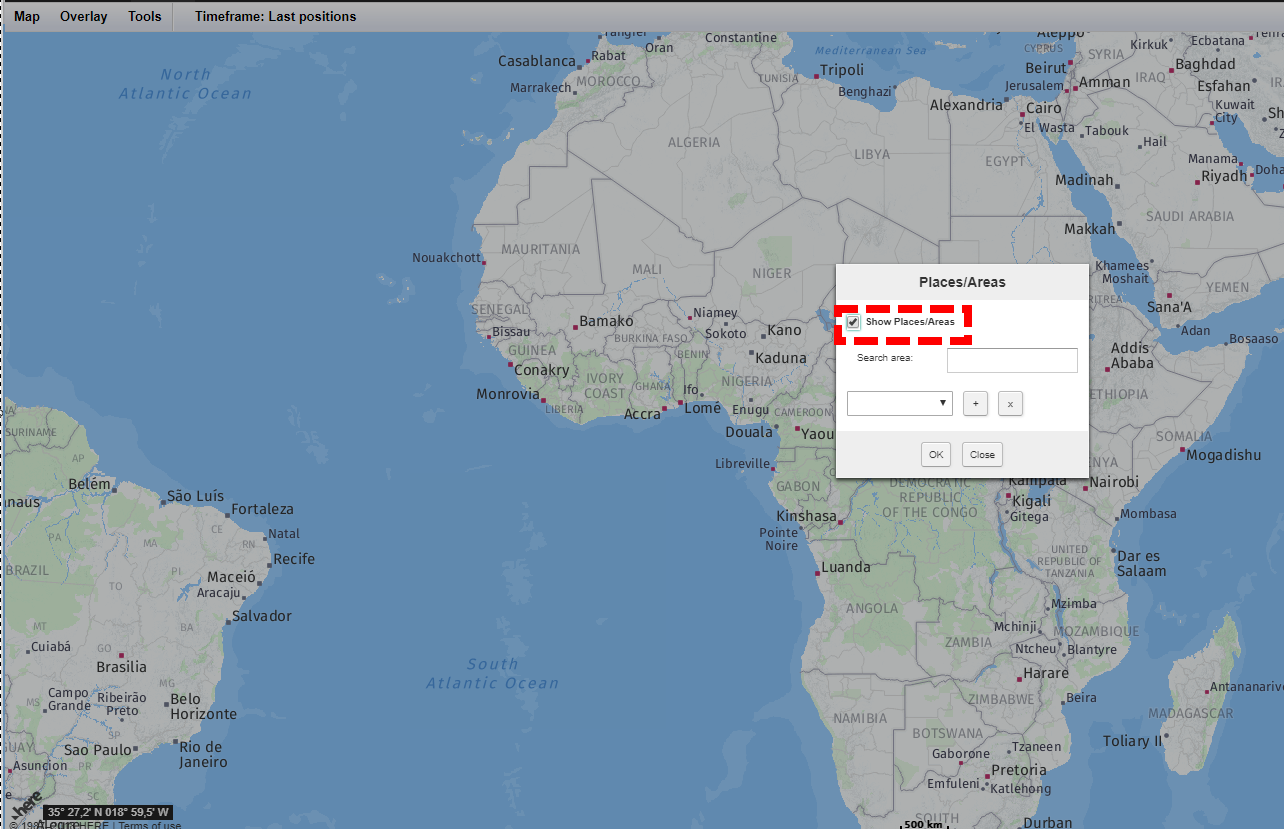
2. Then check the option Show Places/areas.
3. In the next step, you push the button +.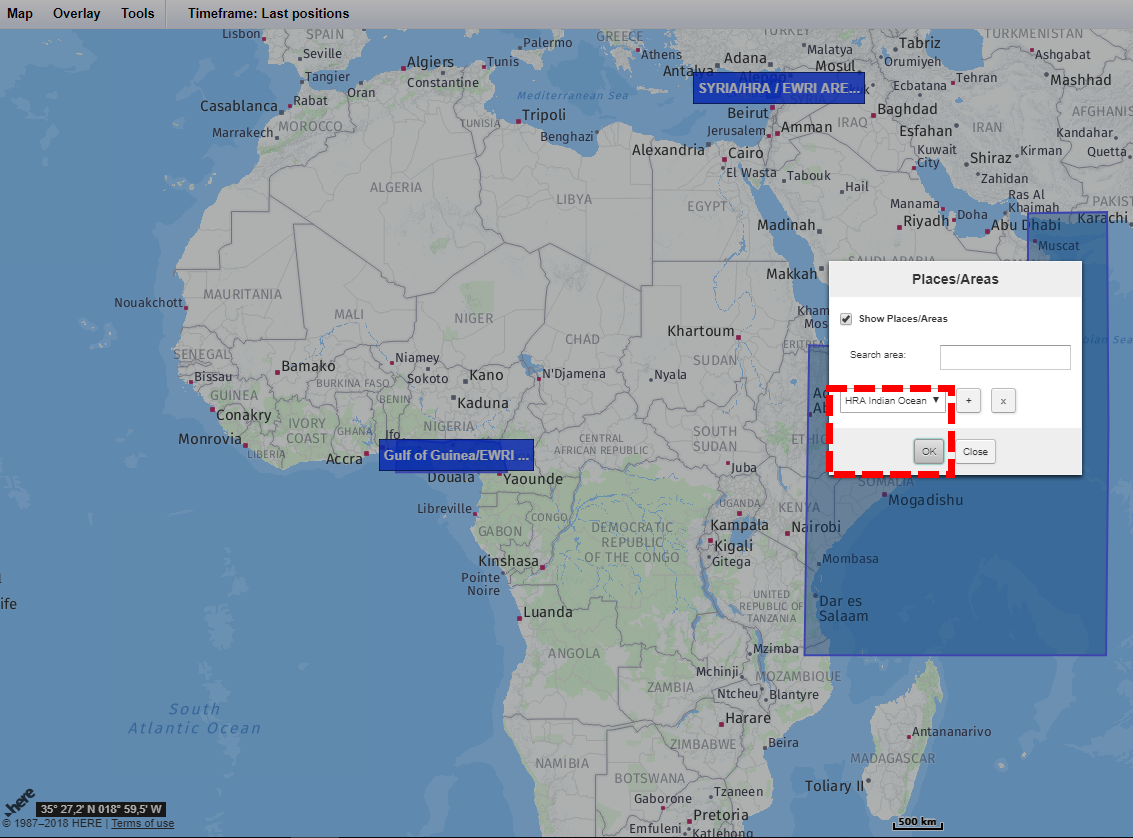
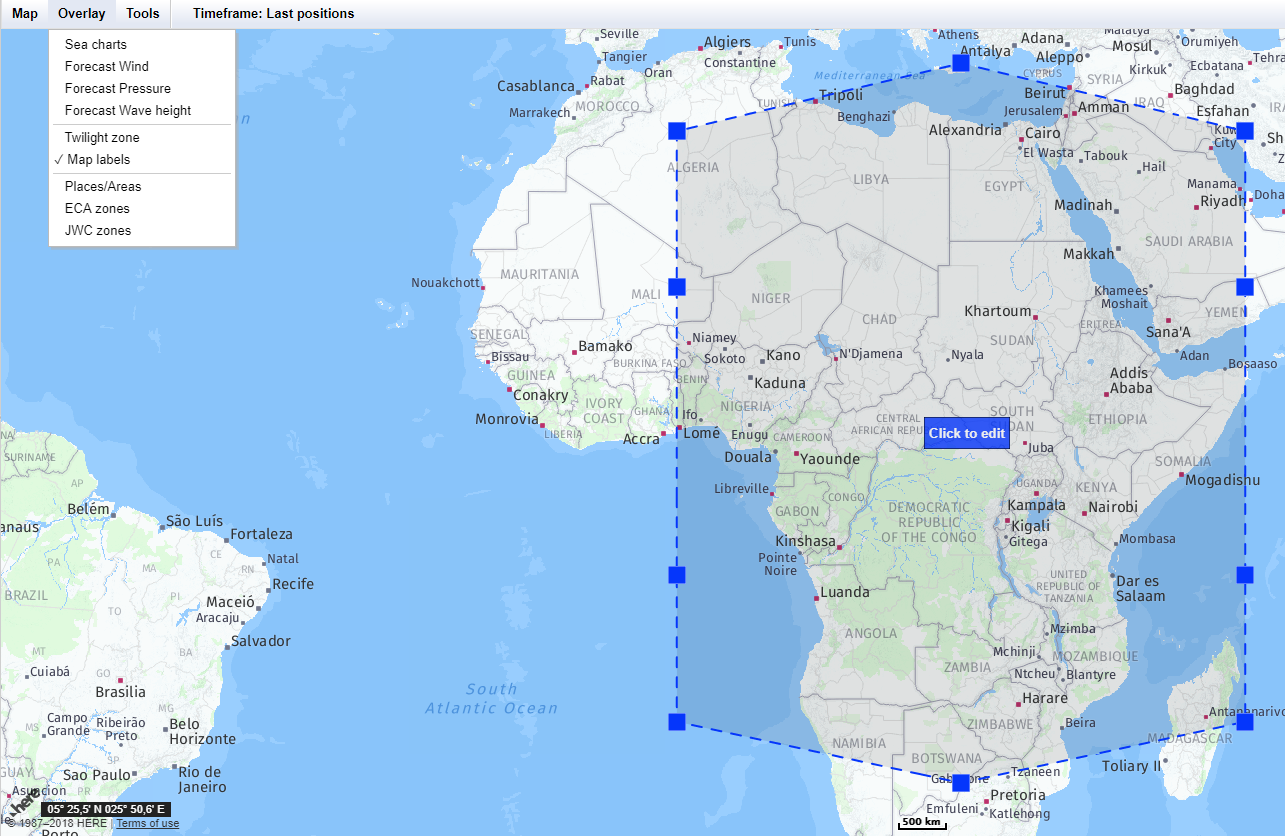
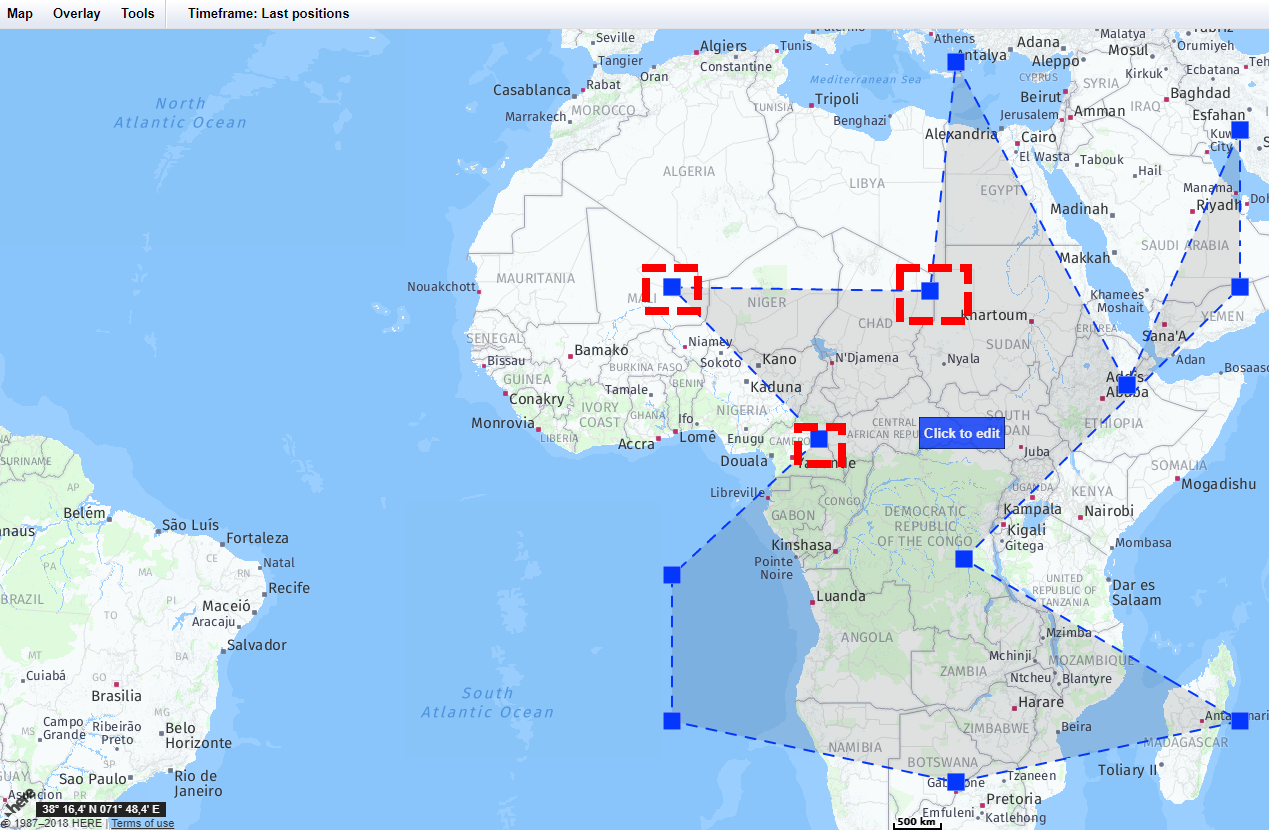
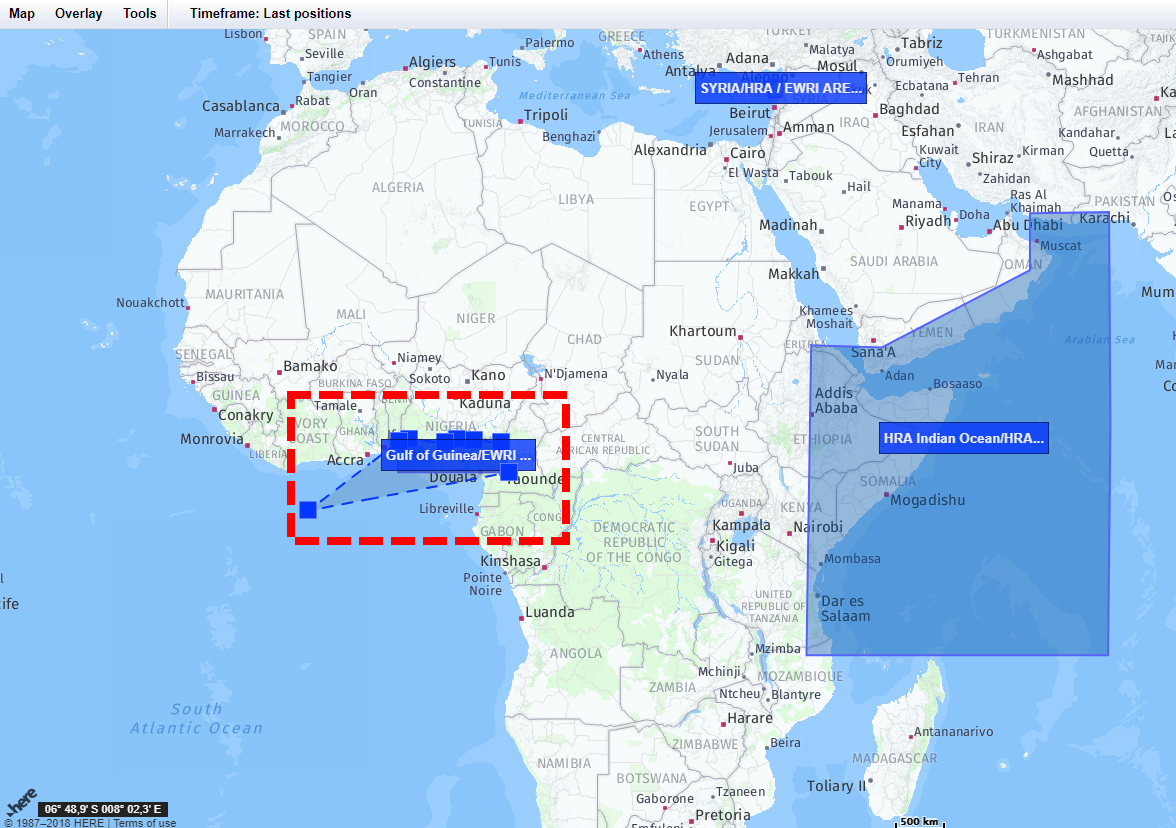
4. A blue line will appear on the map on the area you have chosen.
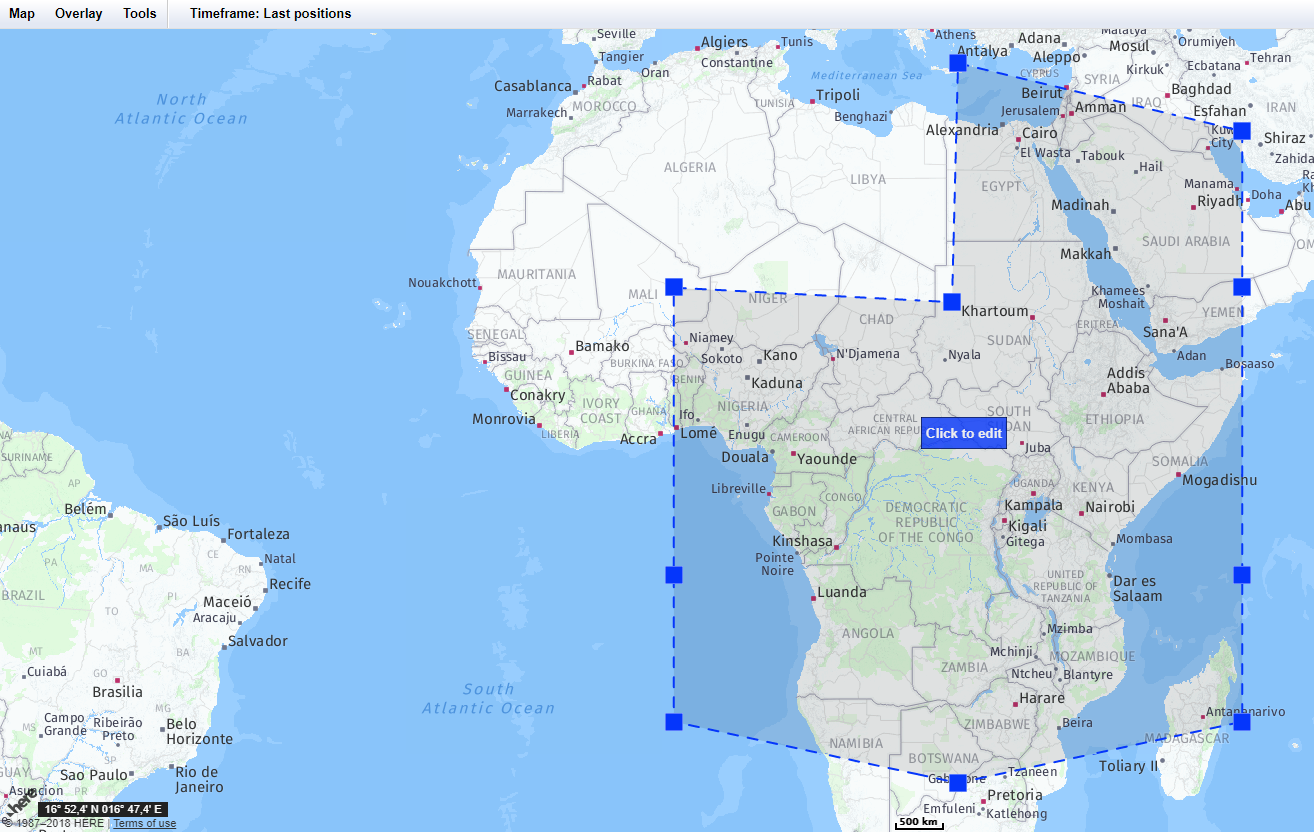
5. You can move the blue squares to a form which fits the area you want to mark.
6. When you click with your mouse once on the blue line, a new blue square will appear, which you then can move as you see fit, to create your area.
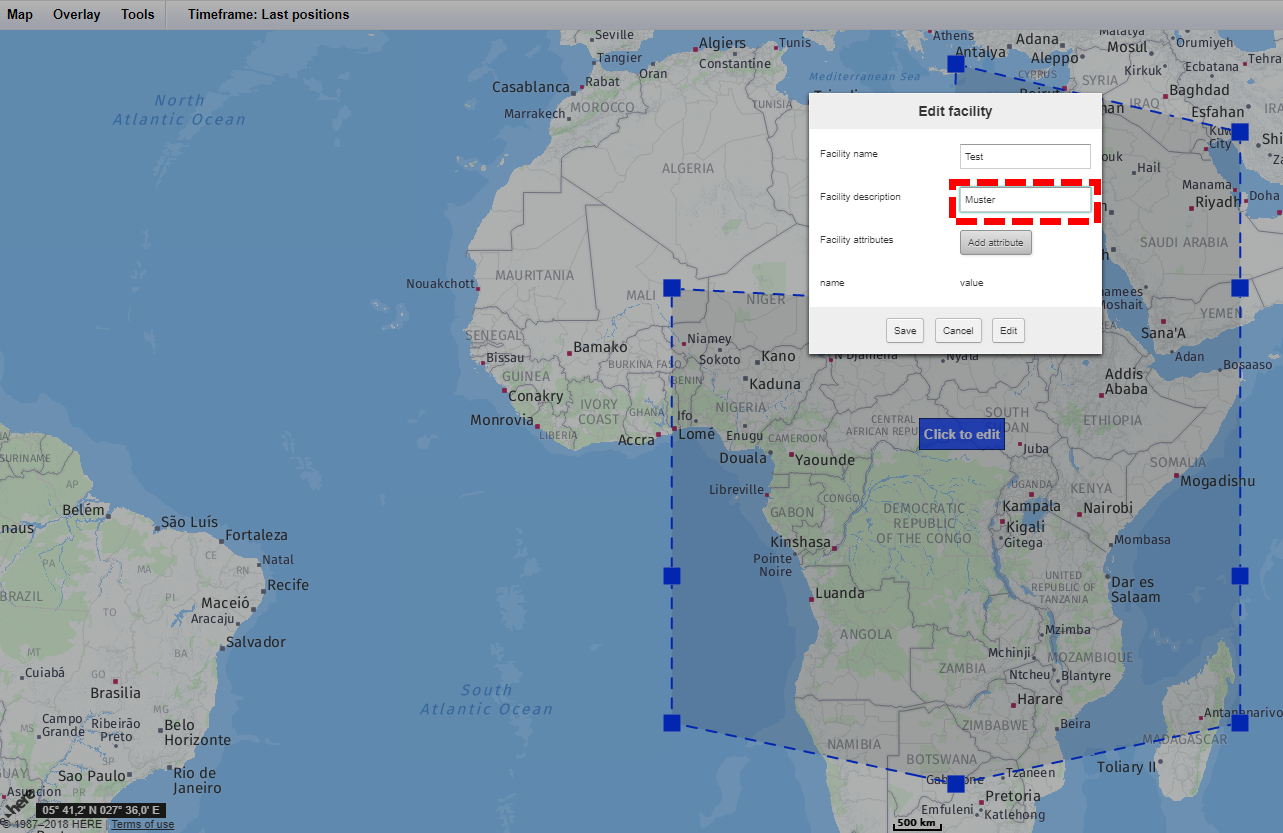
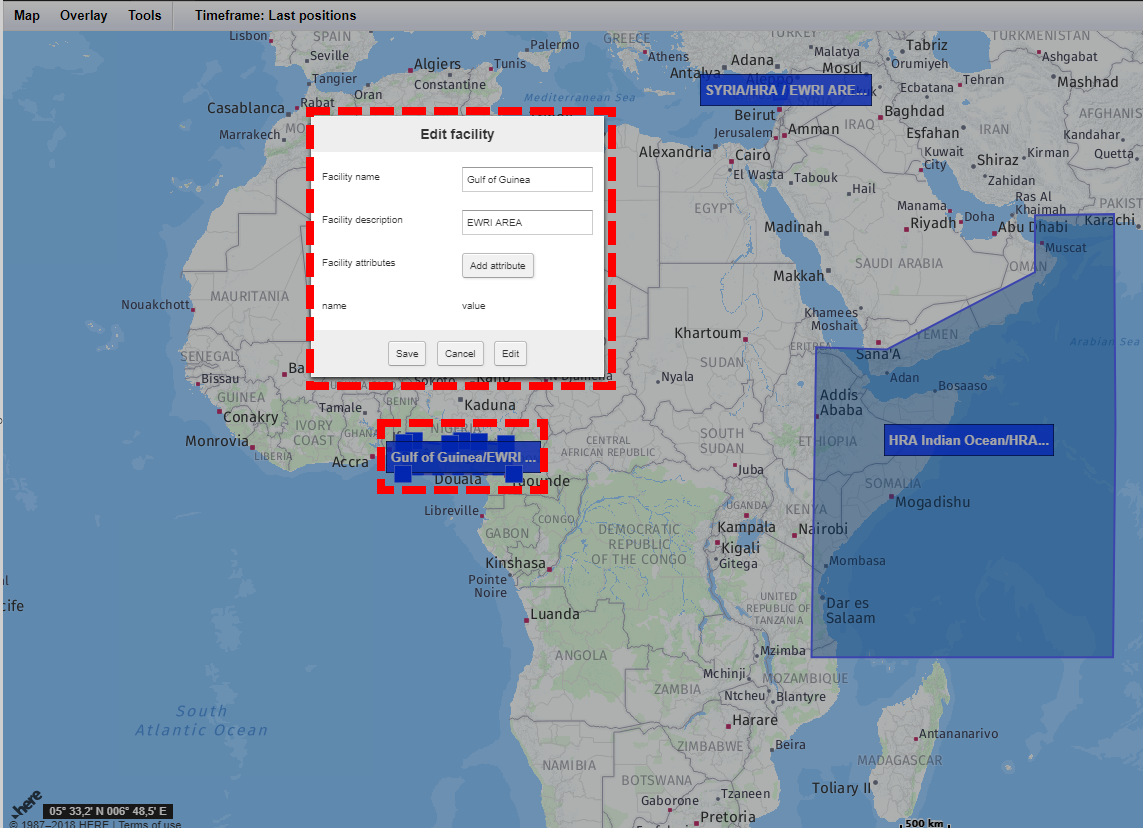
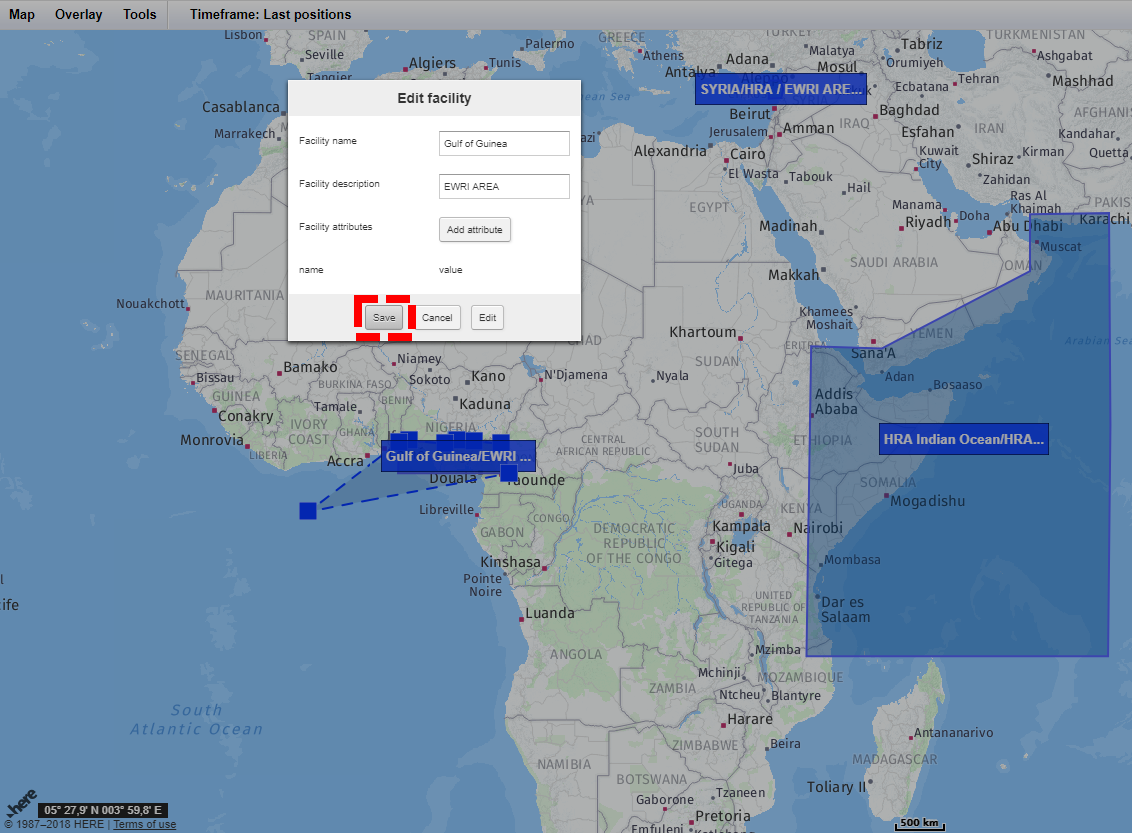
7. When your area has the form you need, you click on the “Click to edit button”. The window Areas/Places will appear again and you can add the name and descriptions of your area.
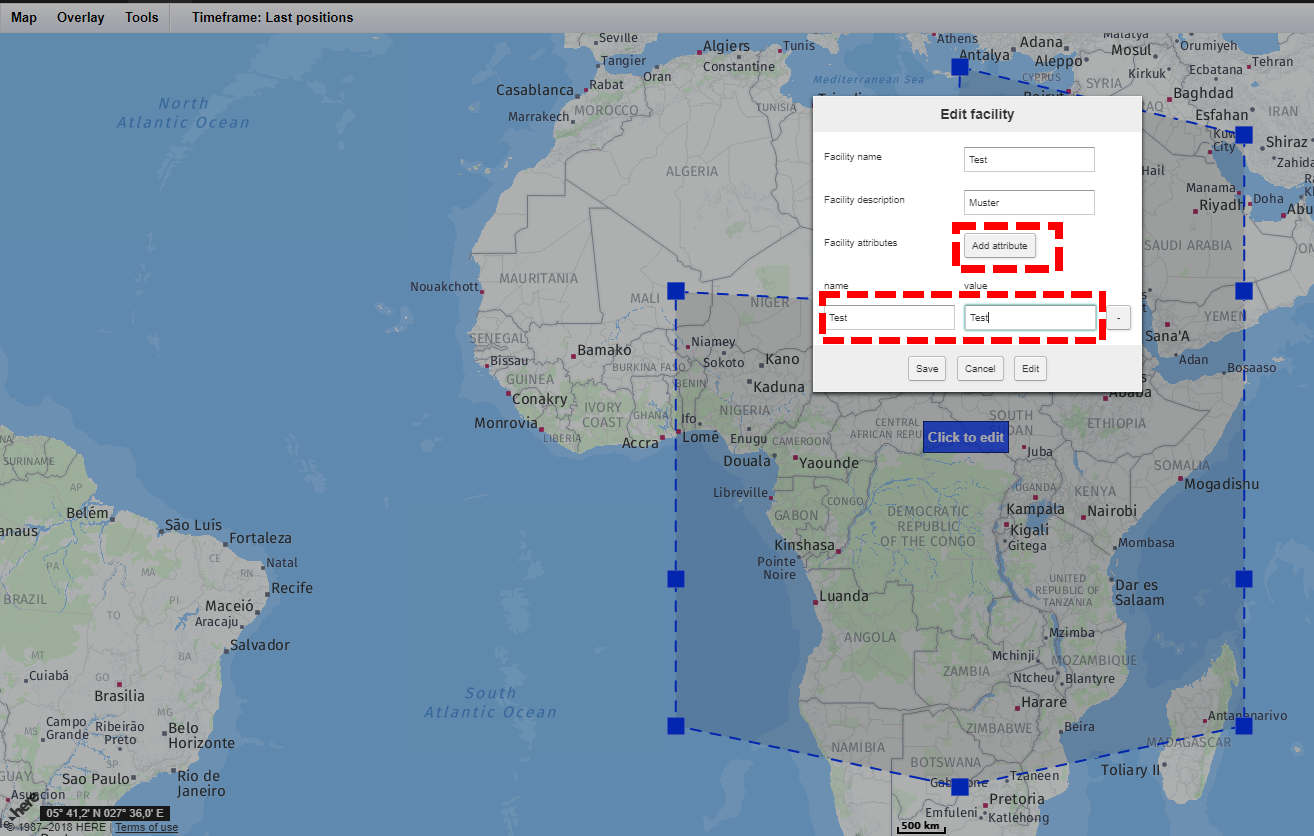
8. When clicking on Add attribute you can add more information like name and value.
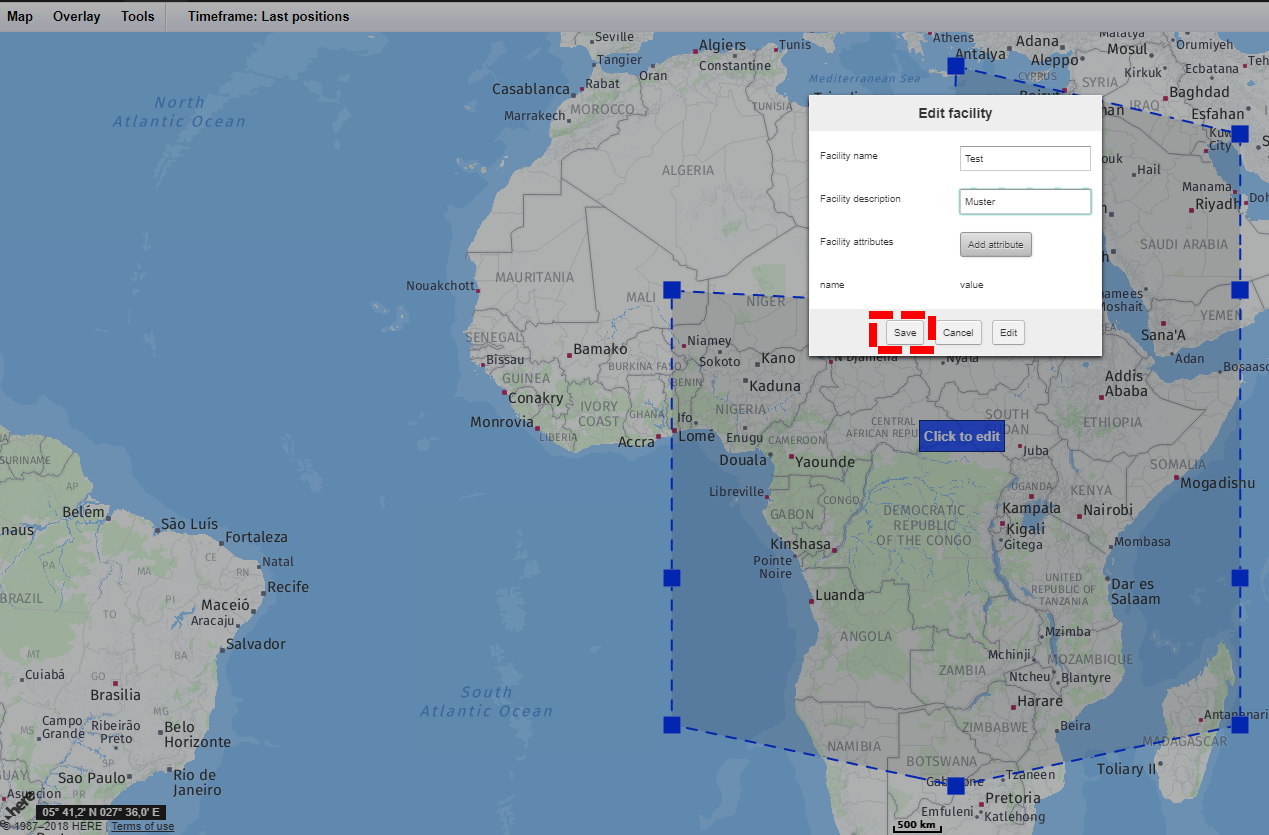
9. When you are finished with adding all your information, you click on Save, to Save your new Area
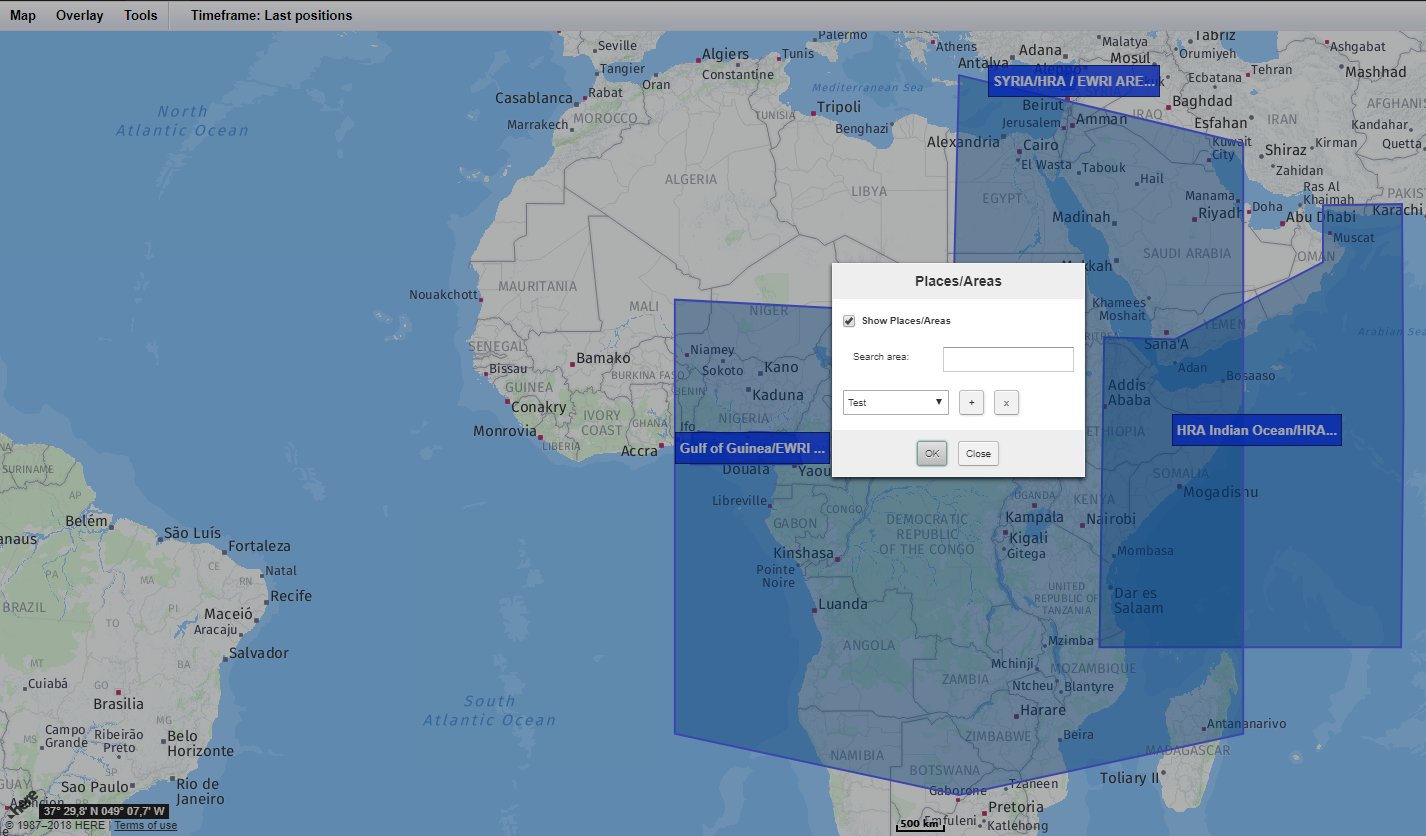
10. Now you can open your chosen area via the Overlay Places. Your area will appear on the drop-down menu.
11. Now your new Area is shown.
Editing existing Areas/places
You can also edit already existing area. Just open, as shown above, the overplay Places/Areas and go to the Area, you want to change.
1. Next, click on the blue button with the name of the Area you want to change. A box with the options to edit the area appears. There you can change the name and attributes.
2. You can also change the area itself as explained above.
3. When you are finished with editing click on the save button.
